
Target has perfected their home décor section. Ian has to pull me from the aisles whenever we pop in “just to pick up a few items.” If I ever won a Target shopping spree I would leave with a cartload full of wall art, throw pillows, and candles.
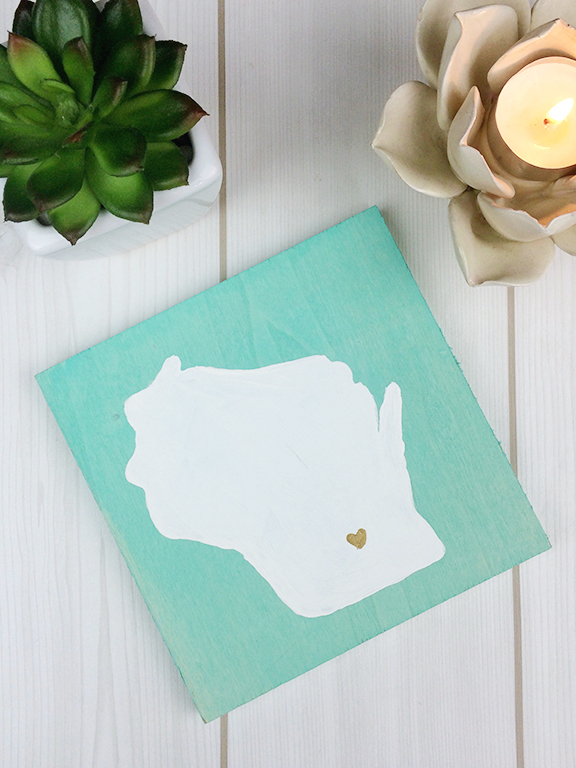
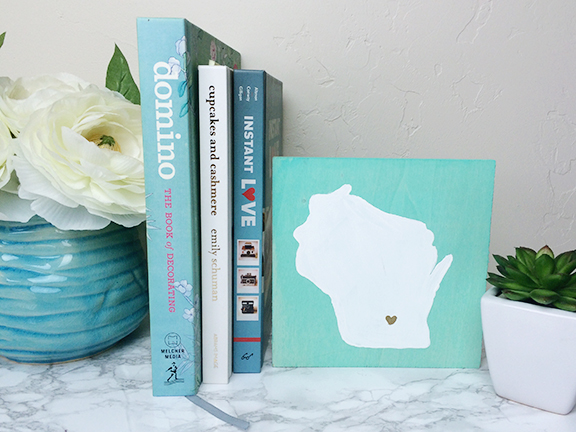
Since the reality of me winning a surprise Target shopping spree is quite low, I had to rein in my fantasy and set time aside to make a few DIY pieces instead. I love the look of color stained wood and thought this piece would look great on a bookshelf or a part of a gallery wall.
Here is how you can make your own stained wood state art at home!
Materials:
- Piece of wood to your desired size
- Acrylic paint (three colors)
- Paint brushes
- Chalk
- Newspaper
How To:
- Lay your piece of wood on top of newspaper to protect your countertop.
- Mix equal amounts of acrylic paint and water.
- Paint over the entire surface of the wood and let dry. This will stain the wood the color of the paint, but allow the grain of the wood to show through.
- Print and cut out your state shape.
- Flip the state over to the backside and rub with chalk.
- Place state, chalk side down, in the middle of your wood and press down. A chalk impression should be left on the wood.
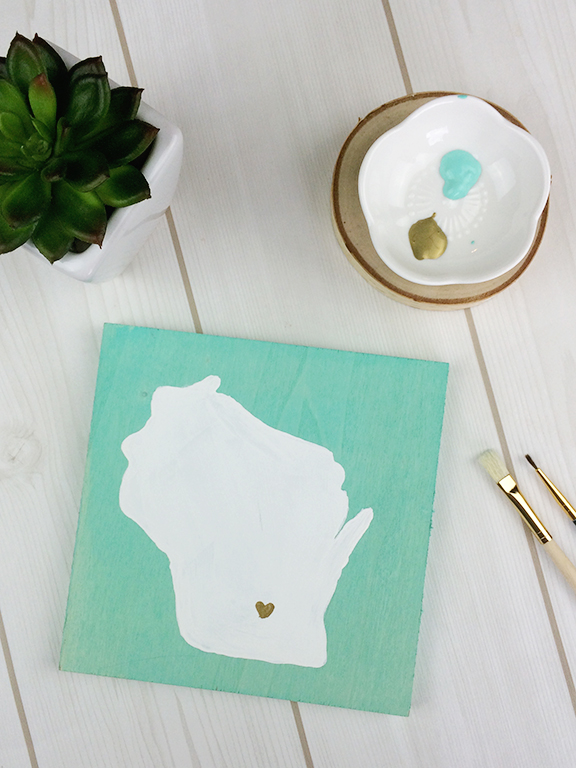
- Using another acrylic paint color, paint over the chalk outline.
- Once dry paint a heart over your home city.
