While winter is almost behind us, spending an afternoon enjoying the great outdoors can still take a toll on your skin. Temperatures are beginning to rise, but the air is still dry and my skin is begging for more pampering. Therefore, I’m ramping up my skincare game and making a mental note to exfoliate once a week in order to have my skin ready to be on display come spring.
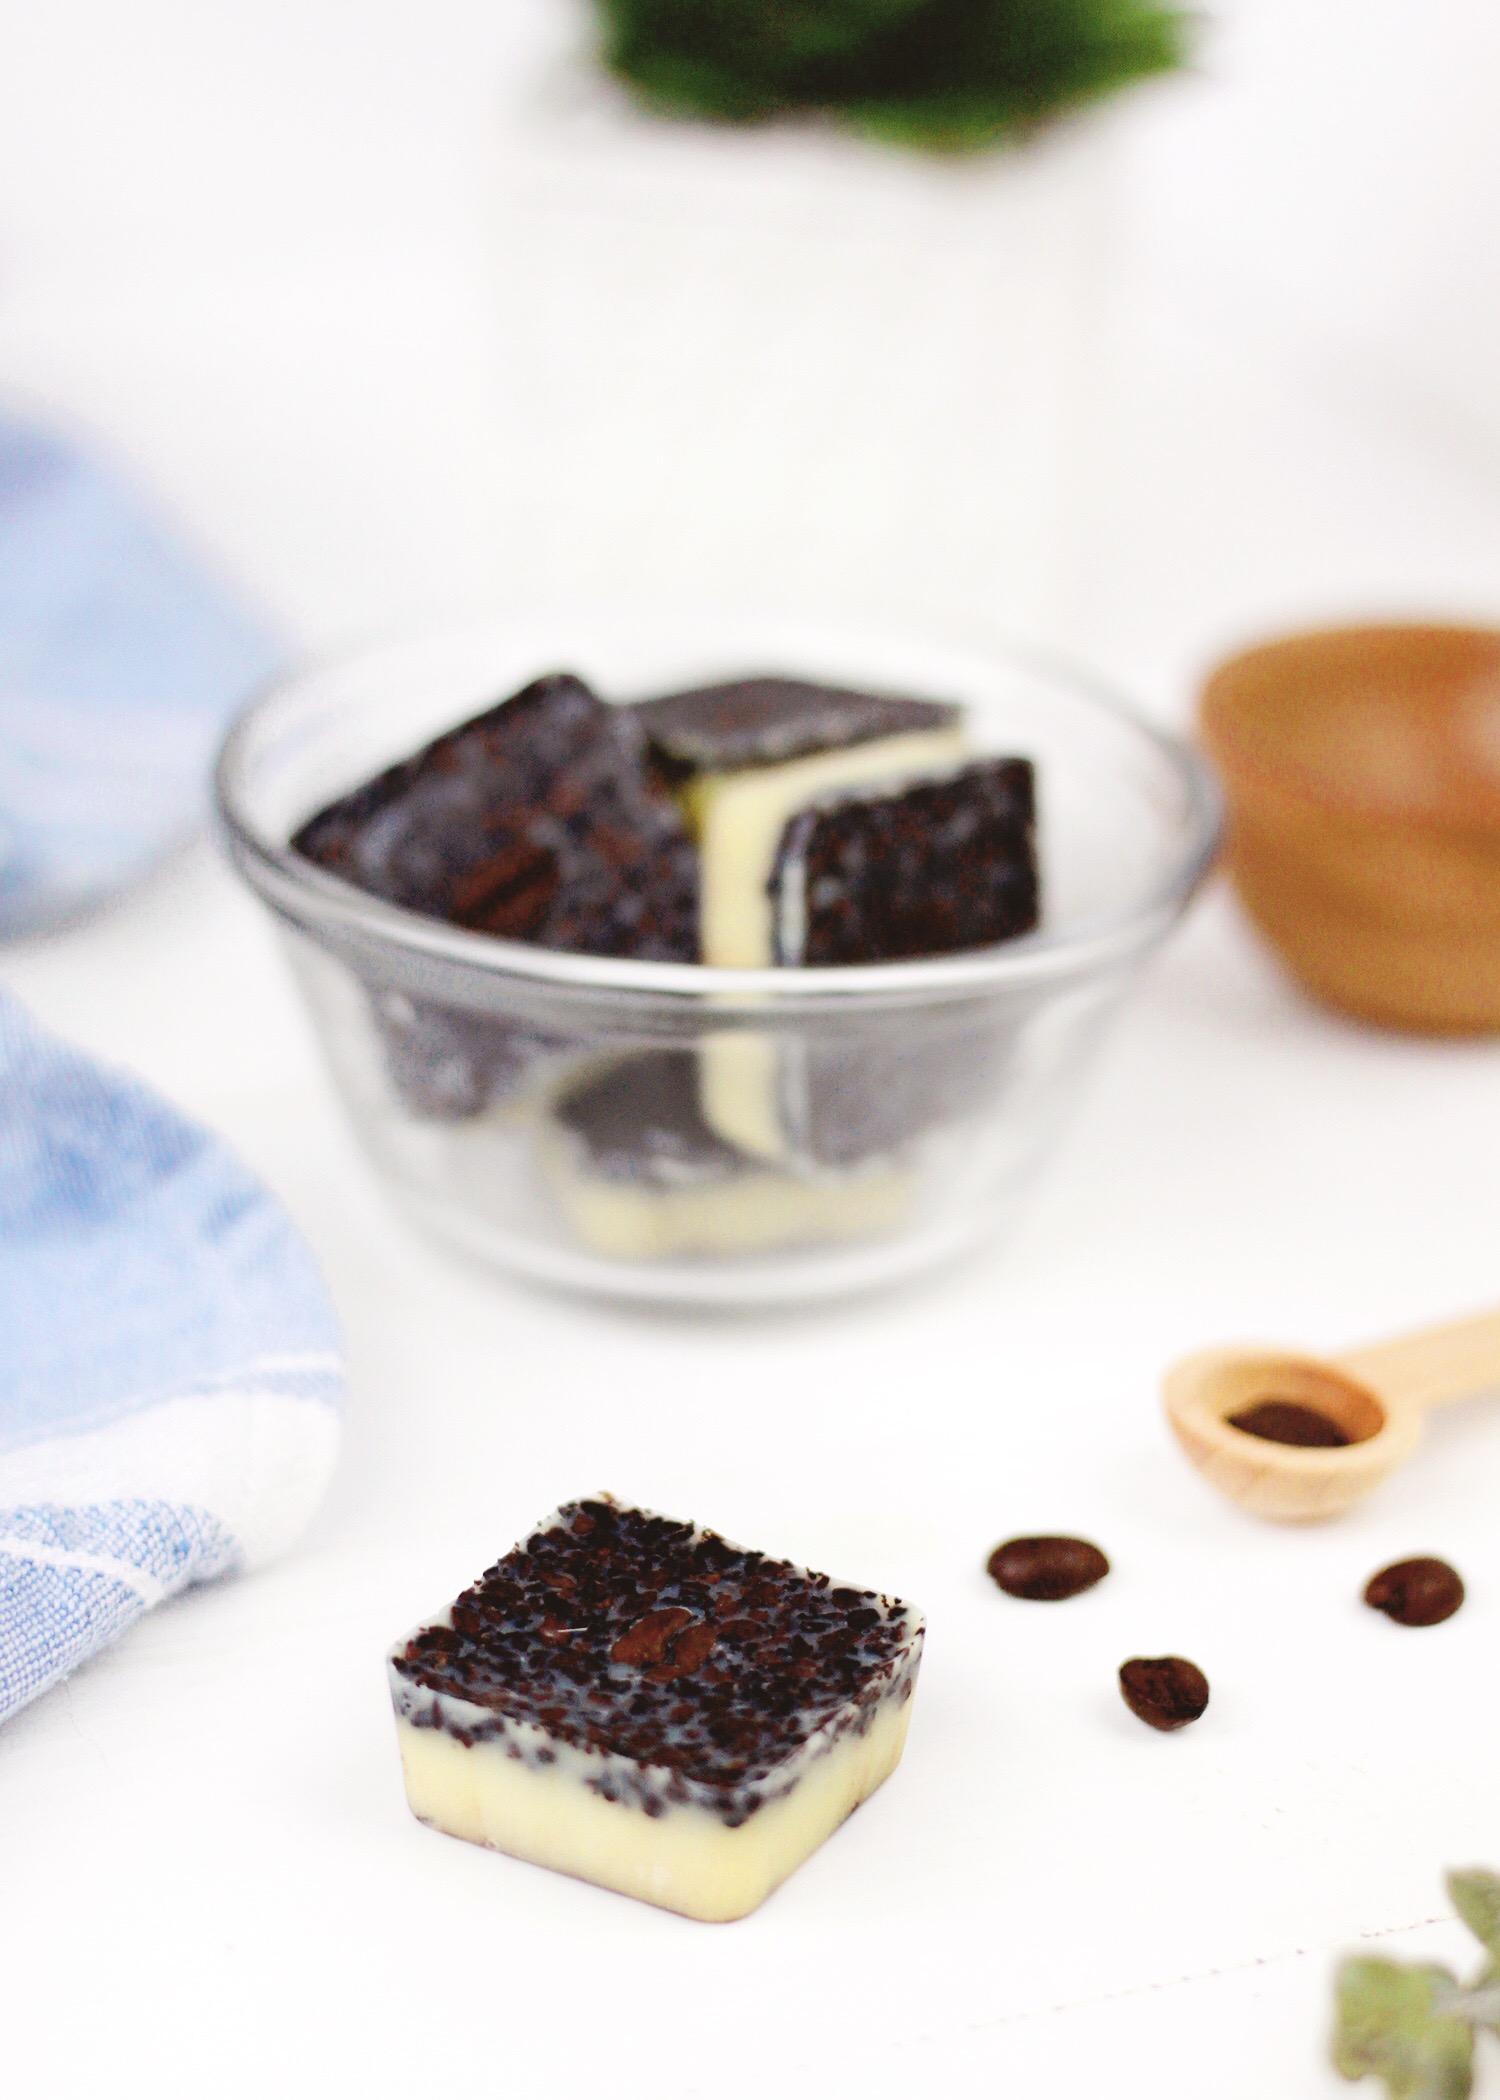
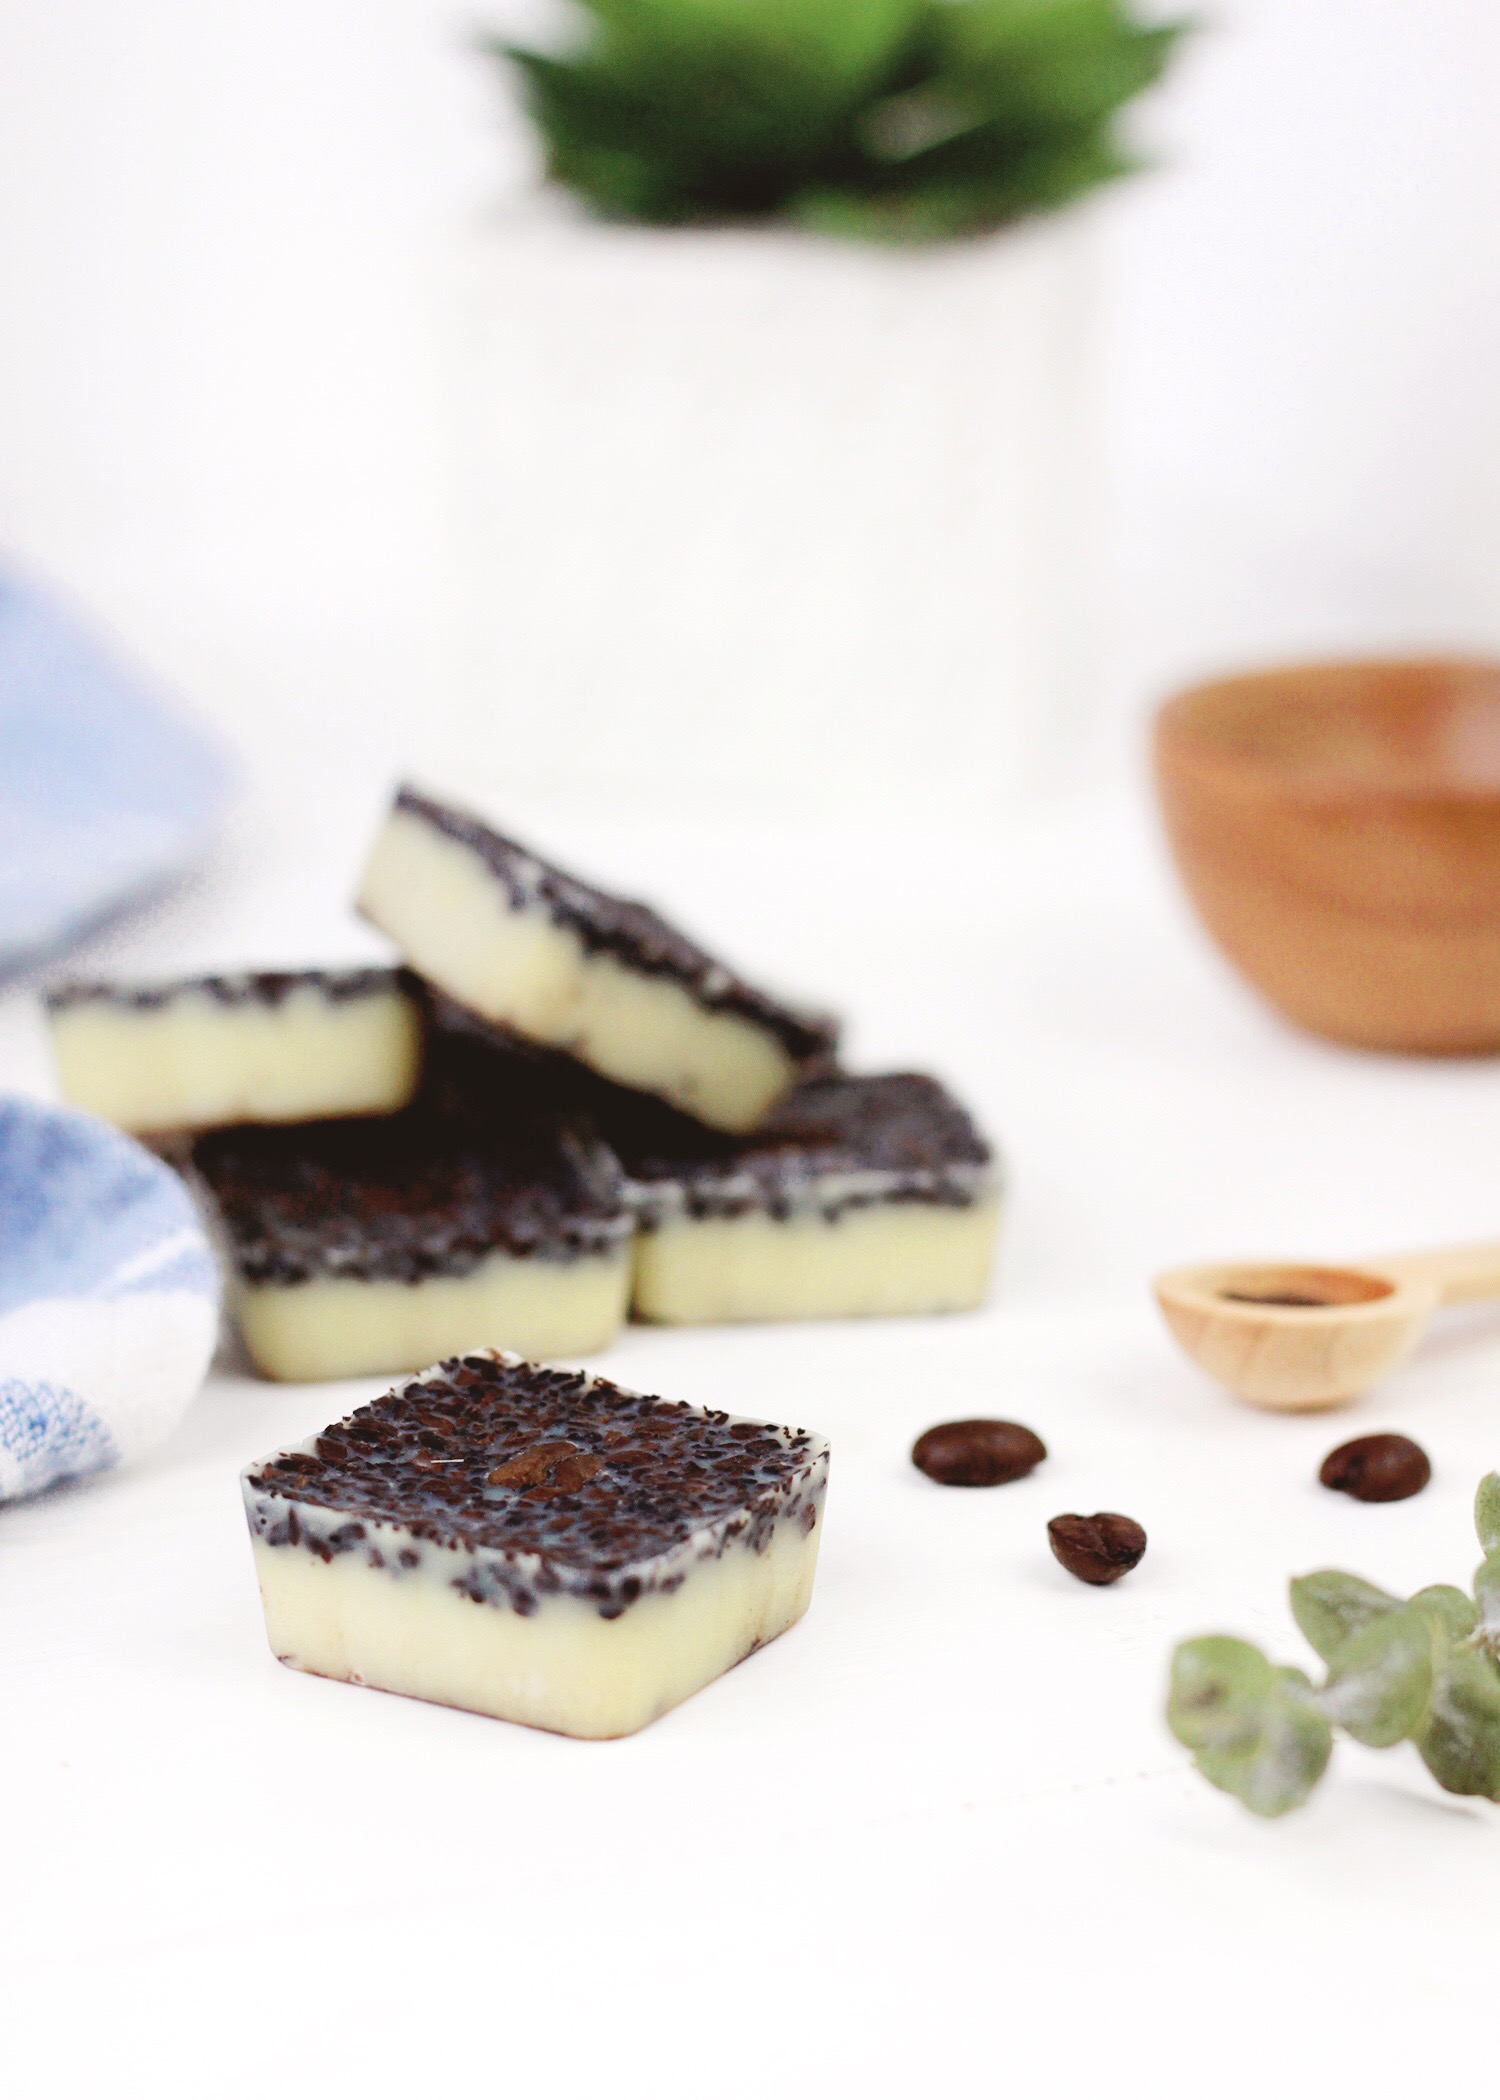
These exfoliating coffee shower melts are able to fulfill two of my skin care goals – stay hydrated and exfoliated. Since these shower melts are enriched with ingredients to quench your skin, they won’t leave your body feeling tight and dry after exfoliation. Therefore, they are perfect when you are in a hurry. Simply pat your skin dry after your shower and your skin will still feel soft and hydrated!
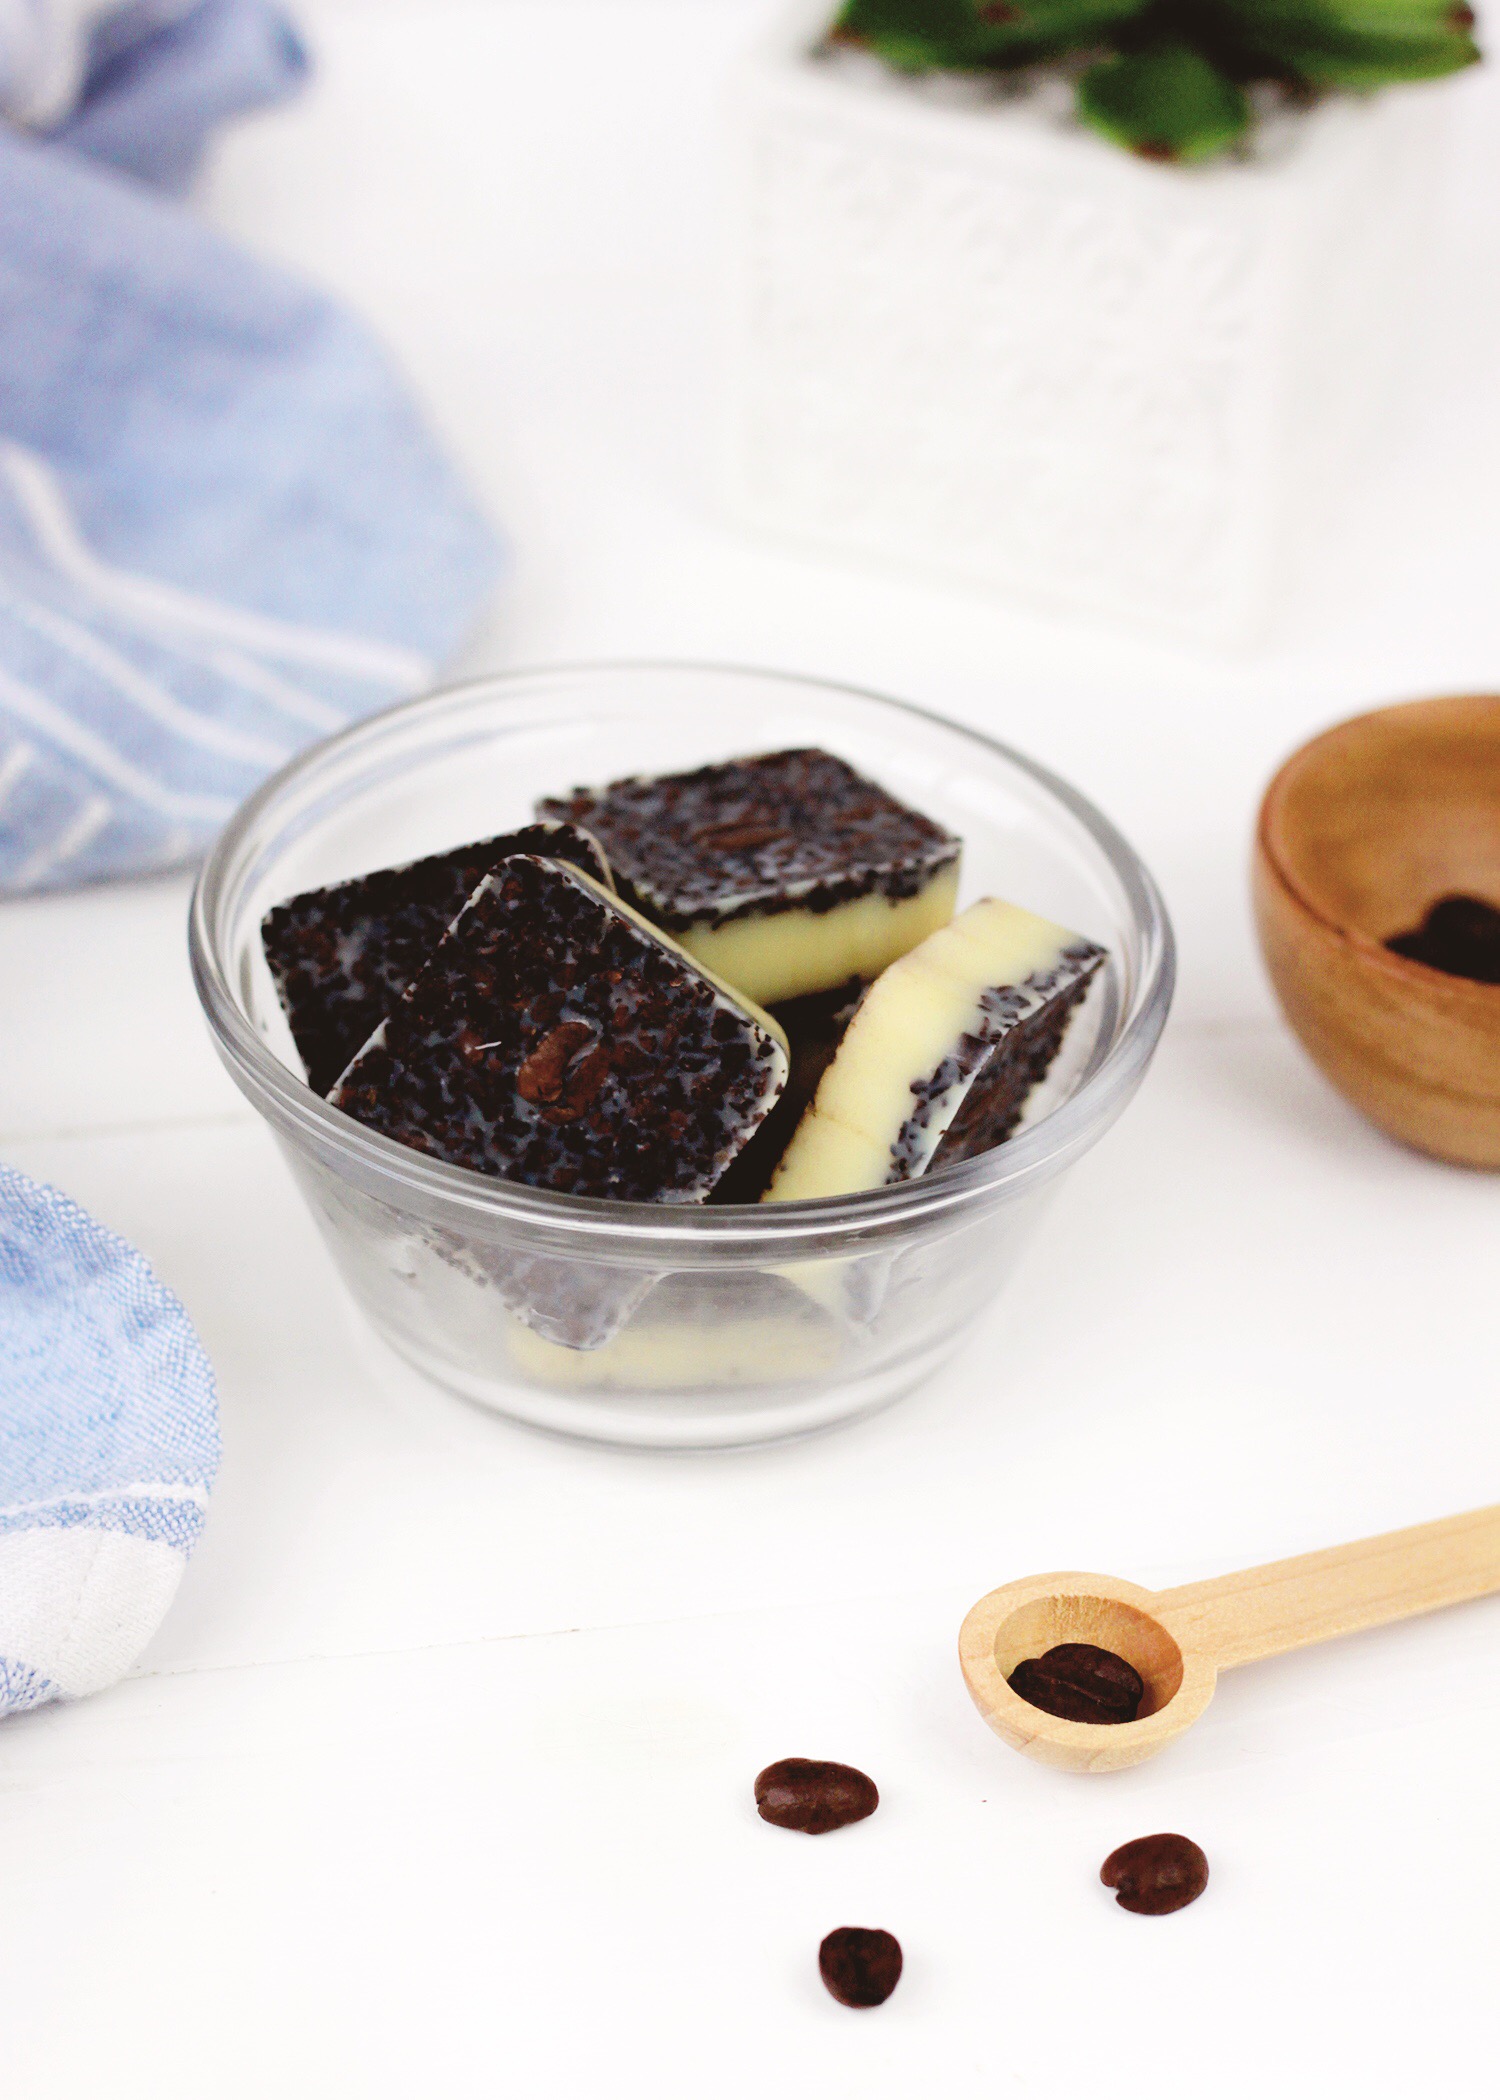
Exfoliating Coffee Shower Melts
Ingredients:
- 1/2 C cocoa butter
- 2 Tbs coconut oil
- 1/4 C ground coffee
Directions:
- Melt the cocoa butter and coconut oil together in a pot over medium heat
- Remove from heat and set aside
- Fill square silicone molds with 1 tsp of coffee grounds
- Pour the liquid mixture over the top of the coffee grounds to fill the molds
- Place in the fridge until set
- Remove the shower melts from the molds and store in a cool area until ready to use