

Who knew finding a necklace holder would be so difficult?! Until recently, I’ve been organizing my jewelry on a necklace holder purchased from Claire’s in 8th grade. During our move, I realized I was ready for an upgrade and have been on the hunt something simplistic.
After months of walking up and down shopping aisles and scrolling through web pages I felt defeated. Nothing caught my eye and I was ready to give up. Then I remembered the simple key holder I made for our entry way. Why couldn’t I modify this DIY for a necklace holder?! After a quick trip to Menards I had everything I needed to make this rustic necklace holder. If you are feeling generous, pick up enough materials to make two and gift one to a friend this holiday season!
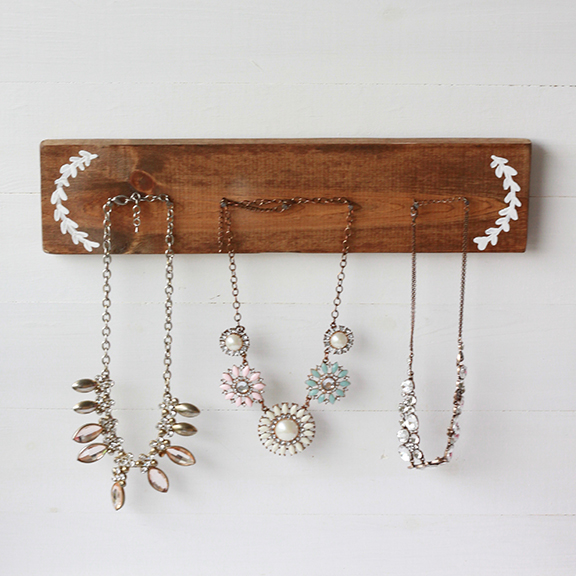
DIY Rustic Necklace Holder
Materials:
- One 2×8 piece of wood
- Hand saw
- Sandpaper
- Measuring tape
- Wood stain
- White acrylic paint
- Paint brushes
- Hammer
- Nails
- Two command strips
Directions:
- Measure out 14 inches and mark it on the piece of wood
- Using a hand saw, cut along the 14 inch mark
- Sand down the piece of wood and stain
- Once dry, use a small paint brush and the white acrylic paint to decorate the edges
- Evenly space your nails and hammer into the wood
- Hang with command strips and layer on your necklaces
