DIY Printable Mother’s Day Gift Tags

DIY-Printable-Mother's-Day-Gift-Tags

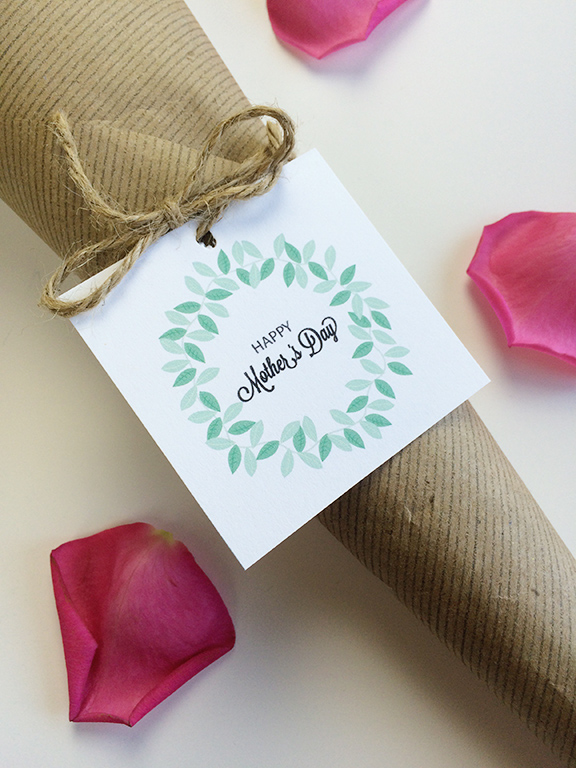
Looking for a Mother’s Day gift on a budget? Turn an inexpensive bouquet of flowers from the supermarket into a custom arrangement with this free printable + twine + construction paper!

First download and print these DIY Printable Mother’s Day Gift Tags on 8.5 x 11 inch cardstock. Cut along the line, punch a hole in the top and tie onto your construction paper wrapped bouquet of flowers! These small touches will add a personal feel to your flowers.

Enjoy!

DIY-Printable-Mother's-Day-Gift-Tags

DIY Color Blocked Magnets

DIY-Color-Blocked-Magnets

Ian and I have accumulated a collection of magnets from our travels. They are a cheerful reminder of our trips and help brighten up our fridge. Unfortunately, our tendency to purchase fragile magnets mixed with our clumsiness has sent a handful to the magnet graveyard.

Recently, I noticed we were in need of a few more magnets and decided to make a fun DIY project out of it. With a bit of tape and paint I was able to create these geometric wooden magnets!

They add a pop of color to our fridge plus they are wooden – so they won’t break if they fall on our kitchen floor! Score!

DIY-Color-Blocked-Magnets

To make these yourself pick up a pack of wooden furniture knobs and magnets from your local craft store. Use tape to create straight lines, paint, let dry and repeat. Once your magnets are dry superglue your magnets to the back of the wooden knobs. Let dry for 5 minutes then you are ready to place them on your fridge!

DIY-Color-Blocked-Magnets

DIY-Color-Blocked-Magnets

DIY Painted Succulent Pots

DIY-Painted-Succulent-Pots

Remember those plants Ian bought me at the Mitchell Park Conservatory? Well, I thought it was time to transfer them into proper pots.  With a dip dyed effect in mind I picked up two small terra cotta pots from the craft store.

DIY-Painted-Succulent-Pots

After painting the pots white I diluted my blue paint by mixing in a bit of the white paint. I painted a thick stripe around the pot then let it dry. Once it was dry to the touch I added a second stripe a bit lower down on the pot with a richer blue shade (I achieved this by adding less white paint to the blue.) The final stripe was the true blue color (no white added.)

While this is not a true dip-dyed pot, the effect is similar. I loved the way they turned out and how they add a bit of color and cheer to our living room.

If you make these yourself make sure to #beautyandblooms so I can see your photos!

DIY-Painted-Succulent-Pots