DIY Wall Art

DIY-Wall-Art

Decorating your home with custom art pieces can be expensive, so why not channel your inner artist and make a few pieces yourself! This color blocked wall art is fool-proof and adds a nice pop of color to your home.

DIY-Wall-Art

I chose NUMBER of colors and painted a straight lines across the canvas. While simple, this art piece has a sense of modern flair when framed.

DIY-Wall-Art

Teacup Candles

Teacup-Candles-Beauty-and-Blooms

Until our honeymoon I never drank tea. Can you believe it?! Marrying a man with Scottish roots I have been offered tea many times, but I never favored the warm drink. That was until I walked into David’s Tea in San Francisco’s marina! I immediately fell in love with their fun flavors (hello, cotton candy!) and walked away with a few samples.

Now our cupboards are stocked with tea and I have been collecting teacups, because hey – a girl’s got to sip her beverage is style, right?!

Teacup-Candles-Beauty-and-Blooms

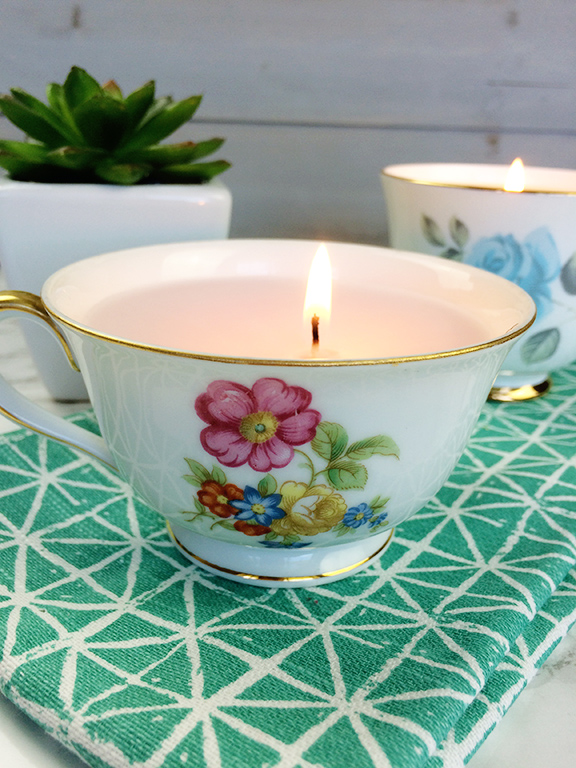
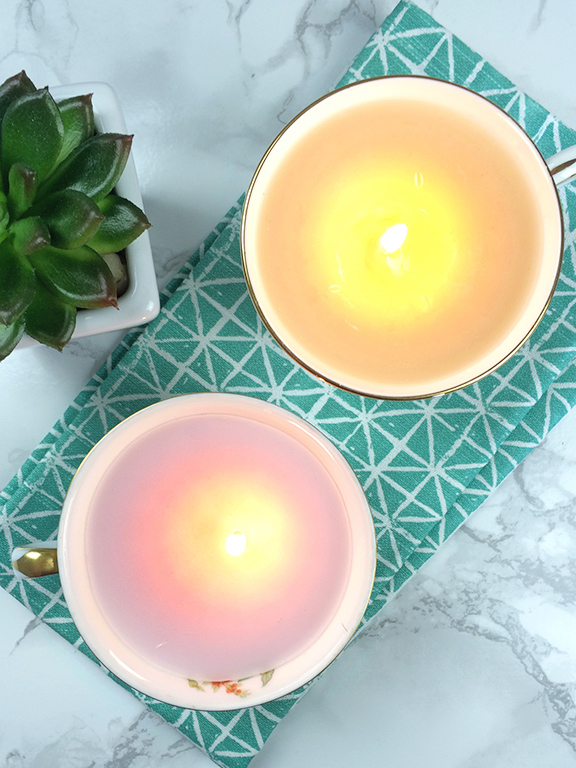
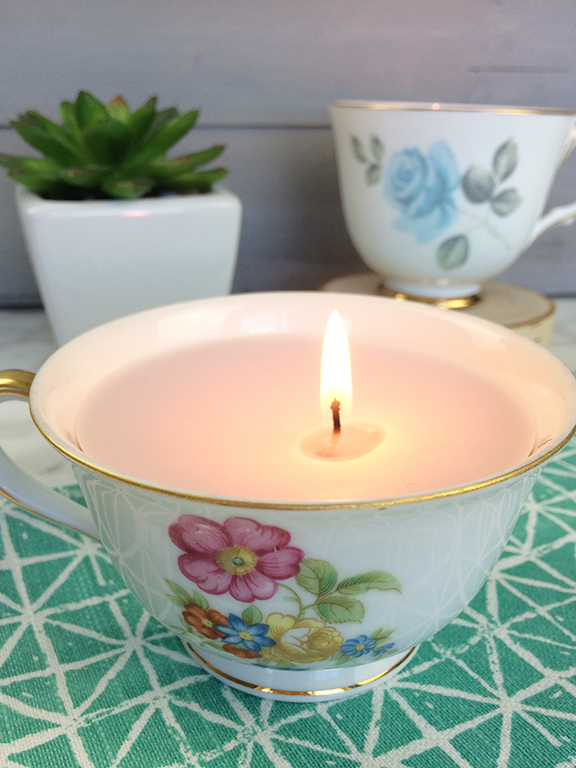
Now I admit, my teacup obsession may have gone overboard (cue not being able to shut the cupboard door.) So I decided to make a DIY out of my problem – hence teacup candles! These little guys would make a great gift (housewarming, bridal shower, etc) or you can just enjoy the candle in your own home, knowing once it burns out you can wash it and relax with – you guessed it! – a piping hot cup of tea.

Teacup-Candles-Beauty-and-Blooms

How To:

  • Place wick, metal base side down, in the middle of your teacup
  • Heat wax in an old pot until melted
  • (Optional) Add essential oils and/or coloring
  • Gently pour into teacups
  • Once cooled, trim wick to your desired length

Clay “Sea Glass” Photo Holders

Clay-Sea-Glass-Photo-Holders

I was looking for a colorful way to display photos around our home and decided to get creative with clay. After a few minutes it was clear – sculpting clay is not my strength.  Not wanting to throw the clay away I rolled and squished out these misshapen balls.

Clay-Sea-Glass-Photo-Holders

Making sure the bottoms were flat and adding a slit on top I popped them in the oven at 250˙ for 20 minutes. Once they were cooled I sat and thought, how am I going to salvage this project?!

Clay-Sea-Glass-Photo-Holders

Then it hit me! Painted in hues of blue, they could look like sea glass. So I painted away and in the end, I don’t think they look half bad!

Clay-Sea-Glass-Photo-Holders