DIY Rustic Key Holder

DIY Rustic Key Holder

Things are finally starting to settle down and our new place is feeling more like home. Now that the apartment is free of boxes and those pesky little bits of styrofoam (they continued to show up for days after unboxing new deliveries!) I finally feel like I have the time to add tiny personal touches around our space.

DIY Rustic Key Holder

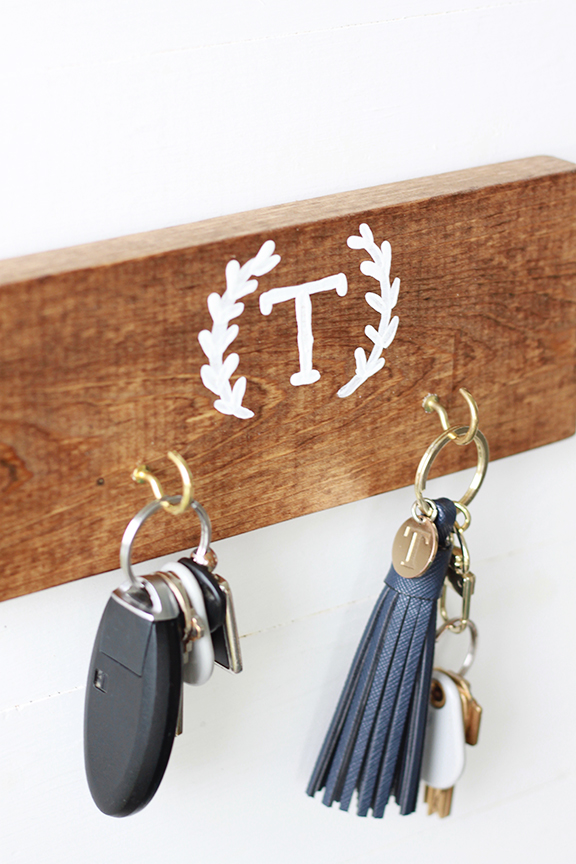
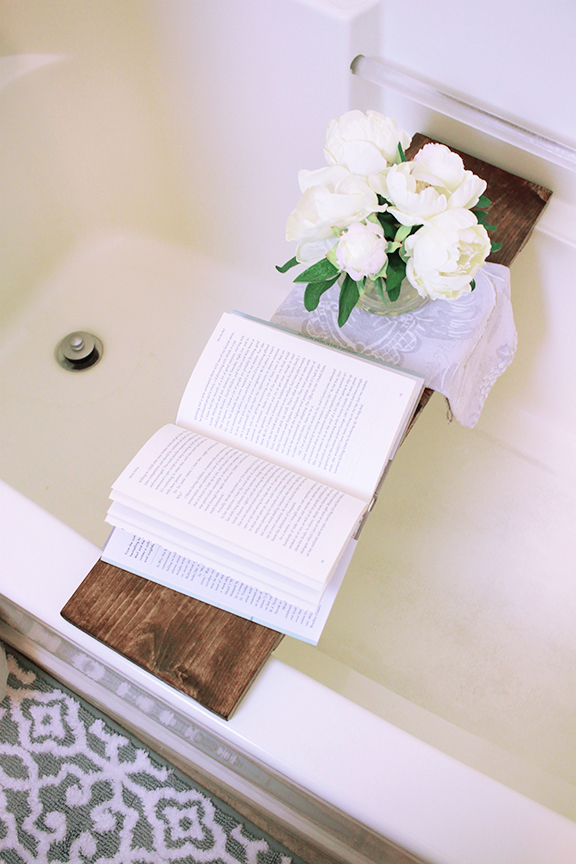
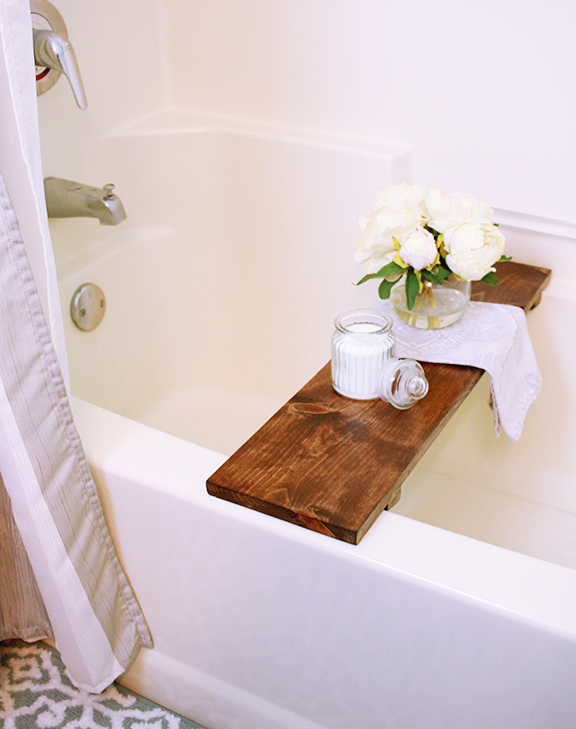
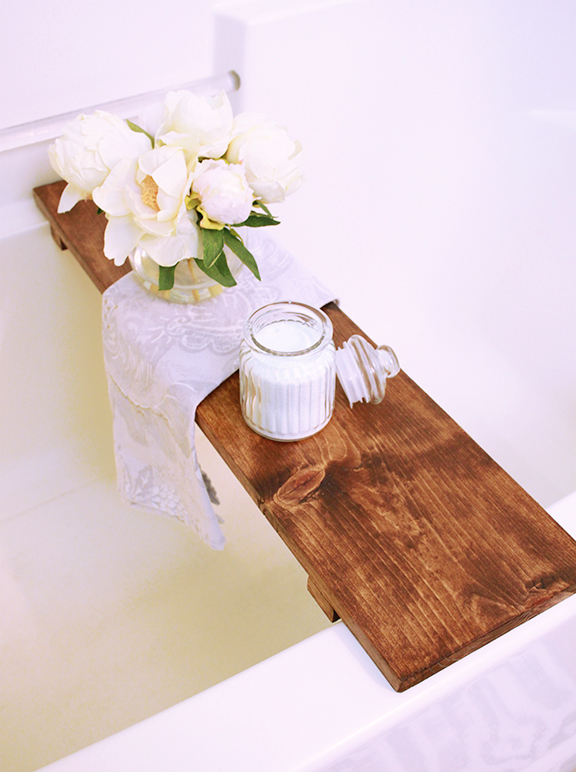
First up on my list was to sort out our key situation. After the move Ian constantly was asking me where he put his keys, therefore, I decided it was time to get organized! Luckily, I had a piece of wood left over from my Bath Tray DIY to make this beautiful rustic key holder! If you are sick of searching for your keys or want to add a personal touch to your home, this DIY is perfect for you!

DIY Rustic Key Holder

Materials:

  • One 2×8 piece of wood
  • Hand saw
  • Sandpaper
  • Measuring tape
  • Wood stain
  • White acrylic paint
  • Paint brushes
  • Two screw hooks
  • Two command strips

Directions:

  • Measure out 9 inches and mark it on the piece of wood
  • Using a hand saw, cut along the 9 inch mark
  • Sand down the piece of wood and stain
  • Once dry, use a small paint brush and the white acrylic paint to monogram the center
  • Make two marks 2.5 inches away from either edge in the center of the wood
  • Fasten the screw hooks into the marks
  • Hang with command strips

Mojito Body Srub

Mojito Body Scrub

Pumpkin spice coffee and candles have infiltrated the grocery store, but I’m still holding onto summer. Don’t get me wrong, I love autumn, but between my surgery and relocating to Milwaukee, our summer slipped by. Therefore, while I may need a jacket to go outside, I’m going to keep the summer spirit alive for a few more weeks.

Mojito Body Scrub

If you are in the same boat, this Mojito Body Scrub can help transport your mind to warmer weather and remind you of summer’s carefree spirit. With a handful of simple ingredients, this body scrub will leave your skin feeling silky-smooth. Bonus: your bathroom will smell like a tropical island.

Mojito Body Scrub

This recipe makes enough body scrub for a large mason jar. If you are feeling generous, you can divide it up between smaller jars and gift them to your friends! Enjoy!

Mojito Body Scrub

Ingredients:

  • 2 C. sugar
  • 4 Tbs. coconut oil, room temp
  • Juice from 1 lime
  • 6 drops peppermint essential oil
  • Grated lime zest (optional)
  • Fresh peppermint leaves (optional)

Directions:

  1. Mix all the ingredients together until well combined
  2. Feel free to add more sugar or coconut oil until you reach your desired consistency
  3. Garnish with peppermint leaves (optional)
  4. Store in a an airtight container.

DIY Bath Tray

DIY Bath Tray

One of my favorite ways to pamper myself is to draw up a warm bubble bath. Paired with relaxing music, a few candles and a good book – this is the perfect environment to reenergize. In the past, I placed a lot of faith in my ability not to get my book wet or drop it in the tub, and luckily I never had any major incidents! However, this always caused a small amount of stress in what was supposed to be a relaxing experience. So I scrolled around the internet and found the perfect solution – a bath tray!

DIY Bath Tray

Instead of paying $30+ to order a bath tray online, I decided I would try to make one myself. Bonus: I was able to customize the tray to fit perfectly in our tub! After taking a few measurements Ian and I set off to the hardware store to pick out our supplies.

DIY Bath Tray

If you look at the project and think it would be difficult to complete – you are wrong! This DIY is as easy as it gets. (It doesn’t even require nails!) All you will need is a saw, some wood glue, wood stain and resin. That’s it! While the staining process will require some patience, the end product is well worth the wait.

Here’s how you can make your own bath tray!

DIY Bathtub Tray

Materials:

  • 1×8 wood board
  • Saw
  • Wood glue
  • Wood stain
  • Oil-based Minwax Polyurethane

How to:

  • Measure the full width of your tub as well as the width of the sides of your tub. These measurements will be used to place 2-inch wood stoppers under the bath tray in order to keep it in place
  • Cut two 2-inch pieces of wood from the board
  • Cut the board to the width of your tub measurement
  • Use a ruler and mark off the width of the sides of your tub under the wood board
  • Place wood glue on the inside of these markings and secure the 2-inch wood pieces down to dry
  • Leave overnight to dry
  • Sand the bath tray and begin the staining process
  • Once you have achieved your desired stain color seal with a coat of polyurethane
  • Let it dry overnight then you are ready to use your bathtub tray!