Burlap and Lace Flower Vase

DIY Burlap and Lace Flower Vase

I’m often guilty of over-thinking things. Whether that be how to respond to a work email or simply what to bring as a hostess gift. Often I have to stop and remind myself that sometimes simple is best. Just like this quick and easy DIY burlap and lace flower vase. (Love how that rhymes!)

DIY Burlap and Lace Flower Vase

Life gets busy for all of us, and sometimes its nice to have a DIY that only takes minutes to make. You still can add a personal touch to your dinner table or hostess gift, but you don’t need to worry if this will be a #PinterestFail. Trust me – this one is foolproof!

DIY Burlap and Lace Flower Vase

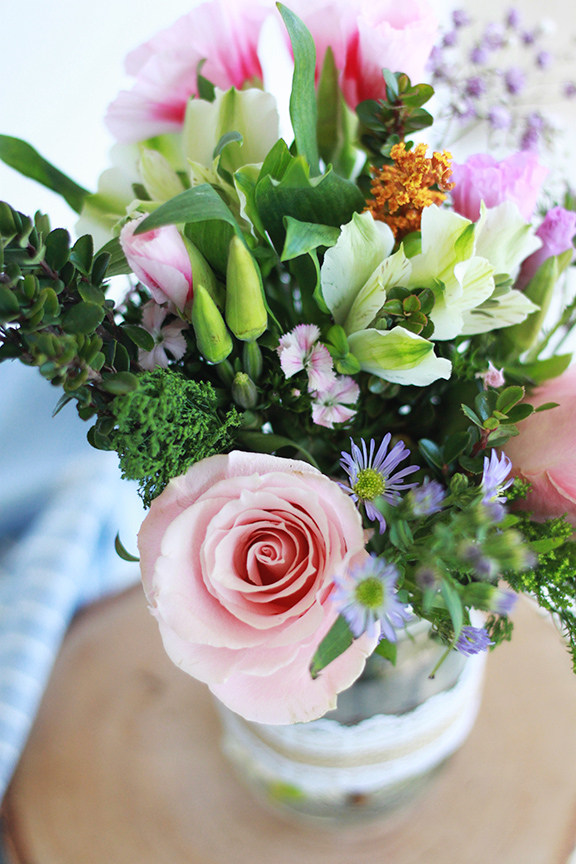
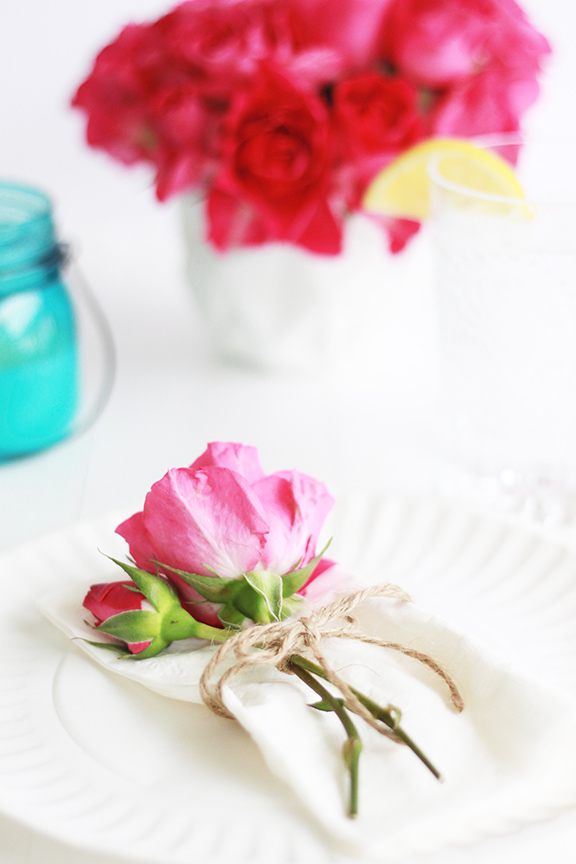
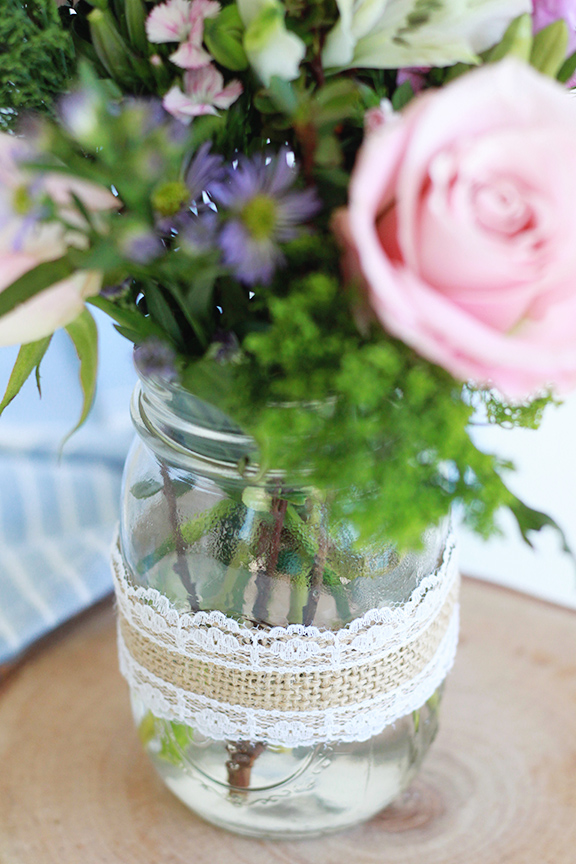
All you need for this project is a mason jar, hot glue gun, burlap lace ribbon, and a bunch of fresh flowers. A snip and a pinch later you will have this rustic flower vase, ready to gift to a friend to keep to brighten up your home.

Burlap and Lace Flower Vase DIY

Material:

How To:

  • Measure how much ribbon you will need to go around the mason jar and add and extra 1/4 inch
  • Cut the ribbon and wrap it tightly around the mason jar
  • Place a pea size amount of hot glue on the end of the overlapping ribbon and lightly press down to secure the ribbon together
  • Let dry
  • Fill vase with water and place in your flowers

(See, I told you it was easy!)

Summer BBQ Place Setting

Summer BBQ Place Setting

Anyone else counting down the days until the weekend? I know it’s only Monday, but knowing Labor Day weekend is just a few short days away has me giddy. Bring on snoozing the alarm, sunset walks, and heating up the grill for dinner!

Summer BBQ Place Setting

Summer BBQ Place Setting

I don’t know about you, but Labor Day weekend wouldn’t fee complete without grilling out a meal. This year’s menu includes corn on the cob, peri peri chicken, grilled pineapple and a tossed summer salad. Is your stomach growling yet? I know mine is!

Summer BBQ Place Setting

To spice up our patio table settings, I decided to incorporate fresh blooms. By clipping off a single rose stem and tying it around a folded paper napkin with twine, I was able to add a rustic pop of color to the table. Perfect place setting for a relaxed Labor Day weekend BBQ party!

Rustic Farm Fresh Kitchen Sign

DIY Rustic Farm Fresh Kitchen Sign

It may be a delayed spring cleaning effect or I’ve been watching too many “Fixer Upper” episodes, but I’ve been in a redecorating mood. I replaced a few pieces of art around the apartment and loved how they brought a new energy to the space.

DIY Farm Fresh Kitchen Sign

By this point Ian was starting to get nervous. When would the madness end?! Would I make him get rid of his beloved movie posters?! (The answer: No, they are safe..for now.) So I decided to bring him in on the redecorating action. We stopped by the hardware store, bought a saw and 2×8, and started working on this quick and easy DIY rustic kitchen sign.

DIY Farm Fresh Kitchen Sign

Surprisingly, this only took half an hour to make start to finish. It is a fun, inexpensive way to add a bit of rustic charm to your kitchen. Here’s how you can join the redecorating fun!

Rustic Farm Fresh DIY Kitchen Sign

Supplies:

  • One 2×8 piece of wood
  • Hand saw
  • Sand paper
  • Measuring tape
  • White acrylic paint
  • Gray acrylic paint
  • Paint brushes

How To:

  • Measure out 2ft and mark it on your piece of wood
  • Using the hand saw, cut along the 2ft mark
  • Sand down the ends of the wood until the rough edges are smoothed
  • Mix the white acrylic paint with water using a 1:1 ratio
  • Paint over the wood until you reach your desired stain (I like to see the grain of the wood show through, so I used two coats)
  • Once the paint has dried, use a thin paint brush to hand paint the saying of your choice. Don’t worry about being too precise, I feel little imperfections add to the rustic charm of this DIY.
  • Let dry and display in your home!