DIY Bath Tray

DIY Bath Tray

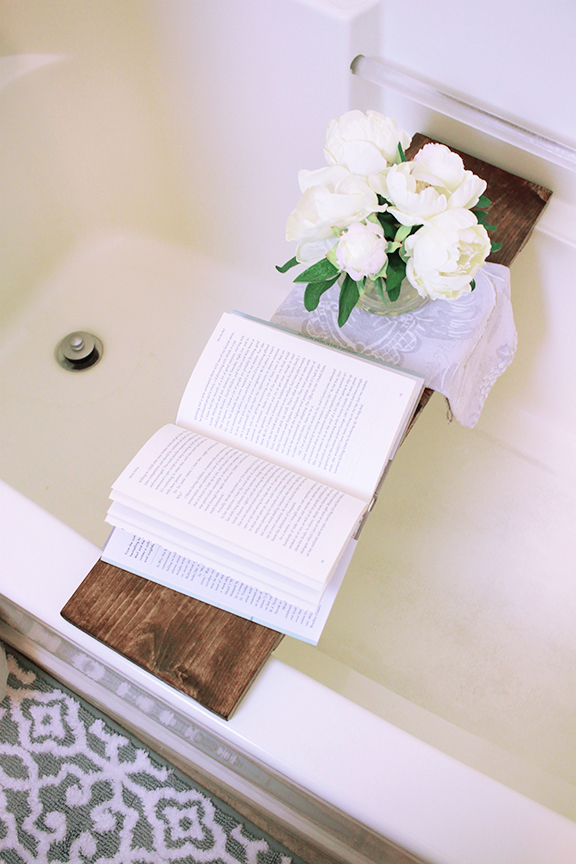
One of my favorite ways to pamper myself is to draw up a warm bubble bath. Paired with relaxing music, a few candles and a good book – this is the perfect environment to reenergize. In the past, I placed a lot of faith in my ability not to get my book wet or drop it in the tub, and luckily I never had any major incidents! However, this always caused a small amount of stress in what was supposed to be a relaxing experience. So I scrolled around the internet and found the perfect solution – a bath tray!

DIY Bath Tray

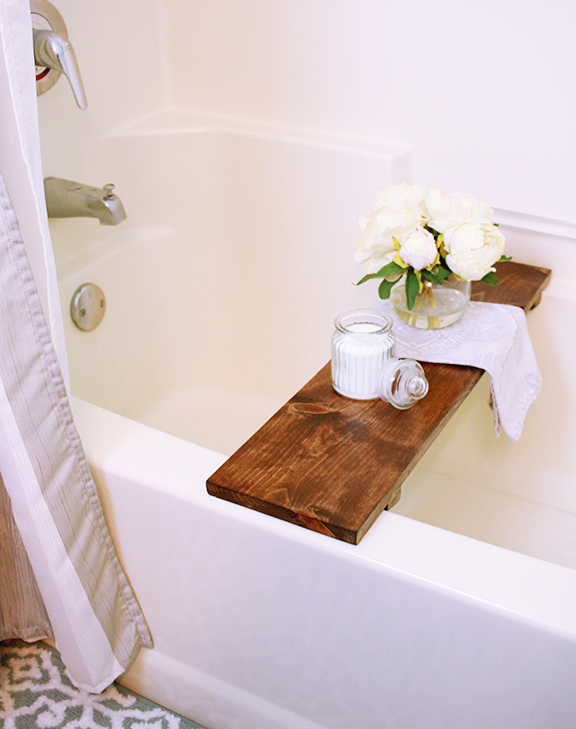
Instead of paying $30+ to order a bath tray online, I decided I would try to make one myself. Bonus: I was able to customize the tray to fit perfectly in our tub! After taking a few measurements Ian and I set off to the hardware store to pick out our supplies.

DIY Bath Tray

If you look at the project and think it would be difficult to complete – you are wrong! This DIY is as easy as it gets. (It doesn’t even require nails!) All you will need is a saw, some wood glue, wood stain and resin. That’s it! While the staining process will require some patience, the end product is well worth the wait.

Here’s how you can make your own bath tray!

DIY Bathtub Tray

Materials:

  • 1×8 wood board
  • Saw
  • Wood glue
  • Wood stain
  • Oil-based Minwax Polyurethane

How to:

  • Measure the full width of your tub as well as the width of the sides of your tub. These measurements will be used to place 2-inch wood stoppers under the bath tray in order to keep it in place
  • Cut two 2-inch pieces of wood from the board
  • Cut the board to the width of your tub measurement
  • Use a ruler and mark off the width of the sides of your tub under the wood board
  • Place wood glue on the inside of these markings and secure the 2-inch wood pieces down to dry
  • Leave overnight to dry
  • Sand the bath tray and begin the staining process
  • Once you have achieved your desired stain color seal with a coat of polyurethane
  • Let it dry overnight then you are ready to use your bathtub tray!

Conversation Heart Ornament

Conversation Heart Ornament

As I was walking through the craft aisle at Michael’s, I found this heart ornament. After confessing my love of heart-shaped items, it’s no surprise that I left the store with the ornament in my bag. I played around with the idea of decorating it with a monogram or our wedding date, but in the end, I decided to make a reversible conversation heart ornament.

Conversation Heart Ornament

Hung on a door knob, this simple DIY adds a subtle Valentine’s Day touch to your living space. Feel like freshening things up? Simply twist the twine around to reveal a second message on the back!

Conversation Heart Ornament

Conversation Heart Ornament

Materials:

  • Clay heart ornament
  • Acrylic paint
  • Paint Brushes
  • Pencil

Directions:

  • Lightly write out your message with a pencil
  • Using a small paint brush, paint over the penciled writing
  • Let dry, then gently erase visible pencil marks
  • Flip over and repeat with another message


DIY Gold Dipped Candles

DIY Gold Dipped Candle

For the first time, in what seems likes ages, we had a weekend at home. While our busy December schedule included exciting excursions and family time, it was refreshing to have a moment to relax. We used this time to deep clean the apartment, restock our fridge and indulge in bit of free time.

DIY Gold Dipped Candle

Ian chose to use his free time to dust off exam books and prep for his PE (Professional Engineer Exam), I decided to pull out my craft bin for a quick DIY. I had recently bought two Hazelnut Cream candles at Walmart, and while they smelled amazing, their packing was quite plain.

DIY Gold Dipped Candle

After two coats of matte white paint and a hint of gold across the bottom, these simple candles transformed into a statement set. They add an interesting design element to a room and would be a lovely gift idea!

Gold Dipped Candles

Materials:

  • Newspaper
  • Two glass candles
  • Matte white paint
  • Gold paint
  • Painting tape
  • Foam brush

How To:

  • Gently remove the candle labels with warm soapy water
  • Pat dry and place on newspaper covered surface
  • Paint the candles with two coats of matte white paint, allowing each coat to dry before reapplying
  • Once dry, tape a line around the candle one inch from the bottom
  • Starting at the tape line, paint downwards with the gold paint
  • When that has fully dries, gently remove the tape