Dulce de Leche

Dulce de Leche recipe! Learn how to make this at home!

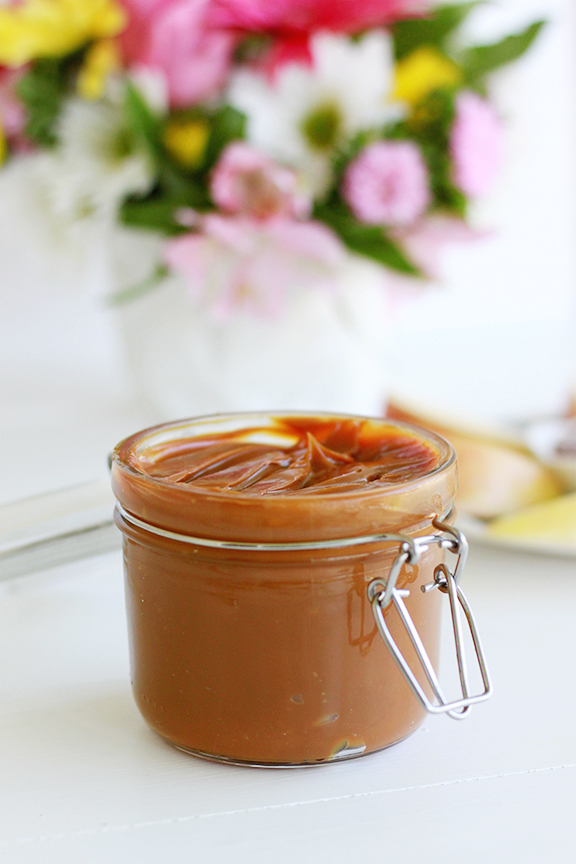
My first introduction to dulce de leche – a thick, rich, caramel-like spread – was when a friend brought me home a jar from South America. At the time I was still living at home with my parents, so I had to strategically hide it behind boxes of noodles in the pantry to save it from being devoured by my siblings.

Dulce de Leche recipe! Learn how to make this at home!

All too soon, my cherished jar of dulce de leche was empty. That was the last time I enjoyed this sweet spread until I was scrolling through Pinterest and I discovered you can easily make it at home. Miracles do come true!

Dulce de Leche recipe! Learn how to make this at home!

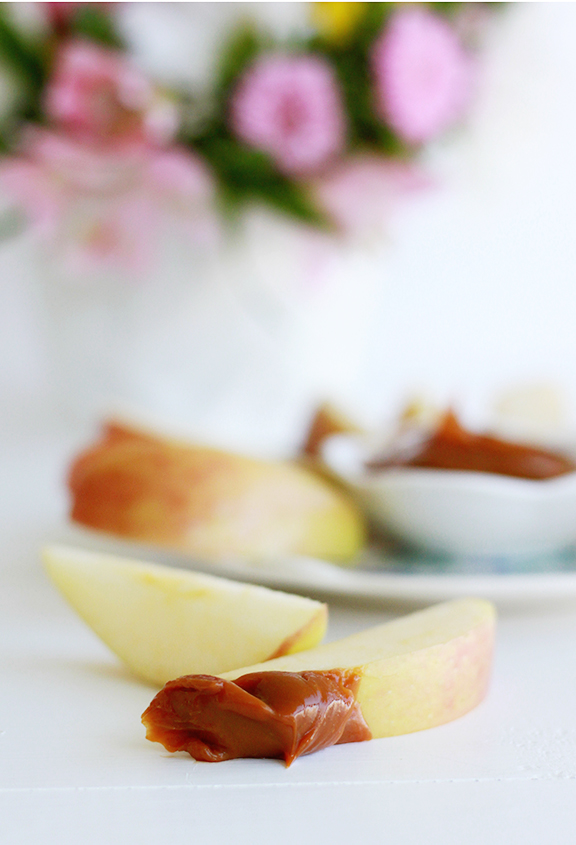
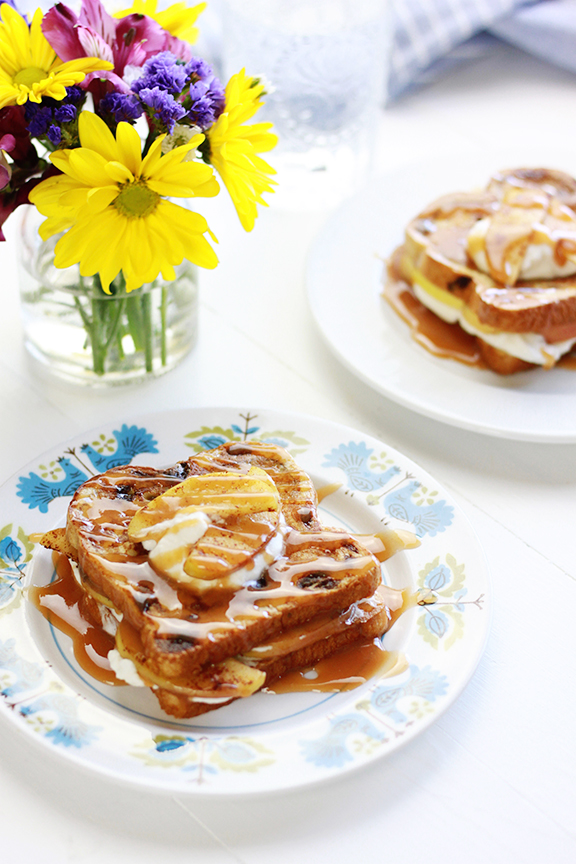
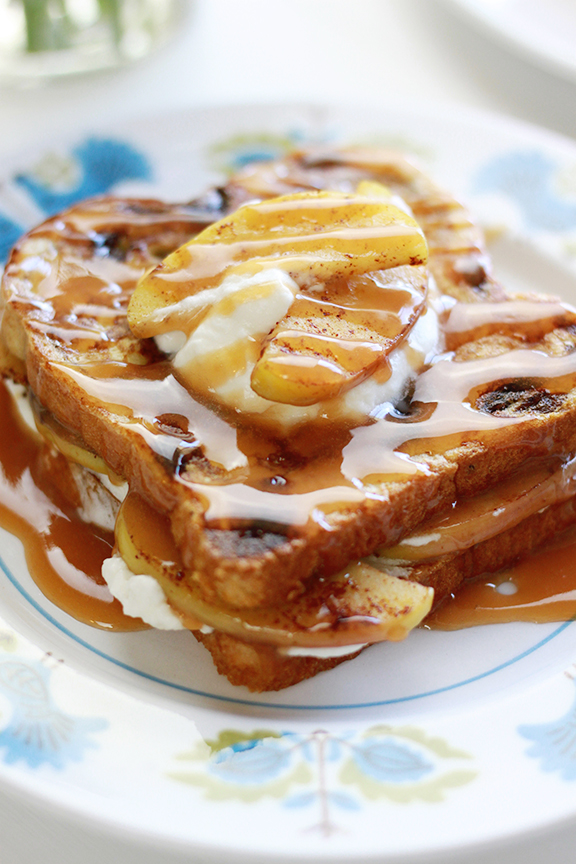
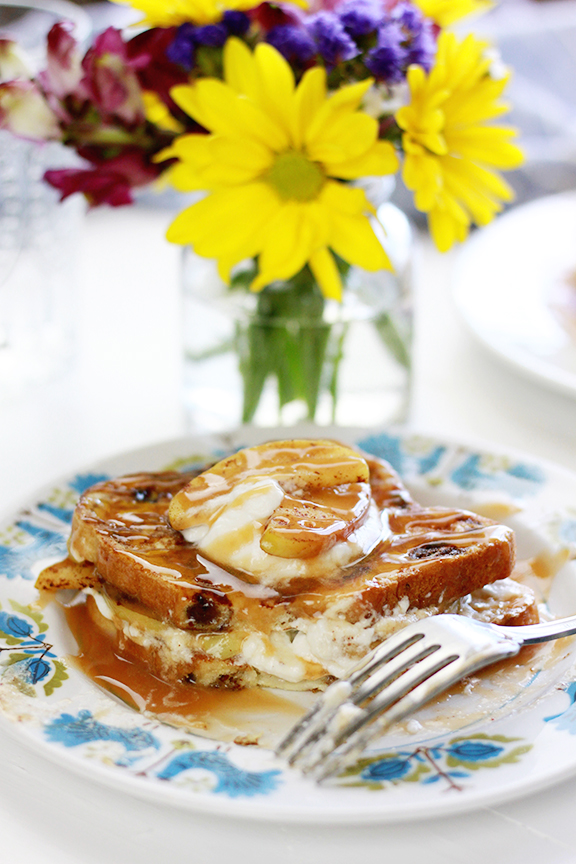
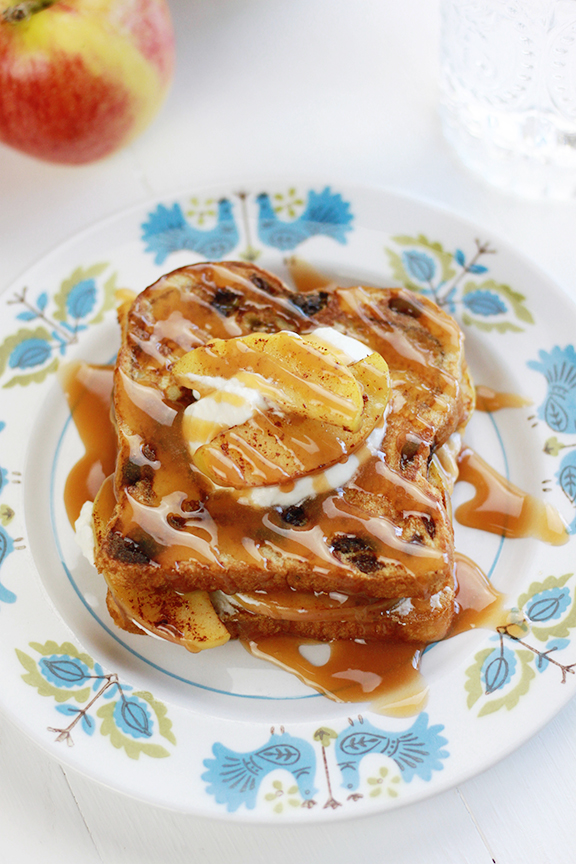
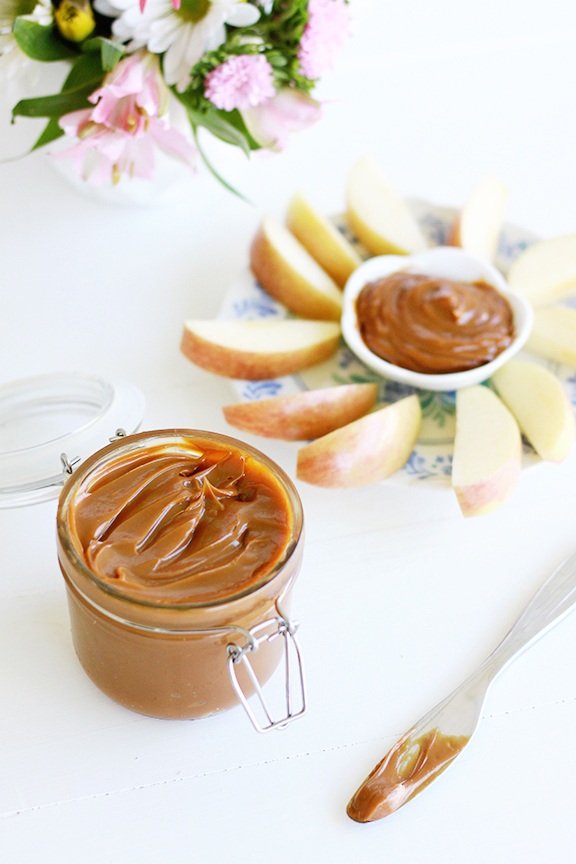
You can drizzle the dulce de leche on pancakes, ice cream, fresh fruit, or anything your heart desires! I’m convinced it tastes delicious on everything. Here is how you can make this simple spread at home!

Dulce de Leche

Ingredients:

  • Can of sweet and condensed milk

Recipe:

  • Peel the label off the can of sweet and condensed milk
  • Place the can of sweet and condensed milk in a large pot
  • Fill the pot with water until it covers the can completely (have a good inch of water covering the top of the can)
  • Place the pot on the stove and simmer for 3 hours
  • Keep an eye on the pot as it simmers, adding more water as needed to keep the can submerged in water
  • Remove the can from the pot and let cool before opening
  • Store the dulce de leche in an air tight container for up to one month in the fridge

Cinnamon Raisin Stuffed French Toast with Maple Bourbon Whipped Cream

Cinnamon Raisin Stuffed French Toast with Maple Bourbon Whipped Cream

Goodness! That title is a mouth-full! But doesn’t it make you want to have breakfast for dinner tonight?! I might stray from our weekly meal plan and make a batch of these myself!

Cinnamon Raisin Stuffed French Toast with Maple Bourbon Whipped Cream

I got the idea for this stuffed french toast recipe when Ian and I were out for brunch at The Creamery. They have their own spin on stuffed french toast, but I wasn’t a huge fan of the cream cheese filling. As any foodie would do, I took the parts of the dish that I loved and combined them with new flavors. In this case, it was swapping out the cream cheese filling with a light maple bourbon whipped cream. The result was drool-worthy!

Cinnamon Raisin Stuffed French Toast with Maple Bourbon Whipped Cream

Feel free to mix and match flavors and have fun with this recipe. Don’t like sautéed apples? Throw on a handful of fresh berries! Love cream cheese? Then forgo the whipped cream. It’s all about experimenting in the kitchen and discovering new flavor combinations that you love. Make sure to share your re-creations with #beautyandblooms so I can like your photos!

Cinnamon Raisin Stuffed French Toast with Maple Bourbon Whipped Cream

Cinnamon Raisin Stuffed French Toast with Maple Bourbon Whipped Cream

Ingredients:

  • Cinnamon raisin bread
  • 1 C. Heavy whipping cream
  • 1/4 C. Milk
  • 1 egg
  • 1 thinly sliced apple
  • 4 Tbs. Powdered sugar
  • 3 Tbs. Bourbon
  • 2 Tbs. Maple Syrup
  • Caramel sauce
  • Sprinkle of ground cinnamon
  • 1/2 Tbs. Butter

Recipe:

  • Whisk the milk and egg until blended
  • Dip the cinnamon raisin bread into the mixture and place on a heated skillet
  • Cook on each side until golden brown
  • In a separate pan, add the butter, apples, and cinnamon. Sautéed the apples until they are soft
  • In a mixing bowl, add the heavy cream, powdered sugar, maple syrup and bourbon. Whip until stiff peaks form
  • On a plate, top one slice of french toast with whipped cream and apples. Top with the other slice of french toast and add a dollop of whipped cream, two apple slices, and drizzle with caramel sauce. Enjoy!

Homemade Limoncello

Homemade Limoncello! Plus FREE labels to package these up for a sweet gift!

When my brother was a senior in high school he packed his bags and boarded a plane to Rome with my mom. When they returned they brought back stories of the friendly locals, photos of the landmarks, and a bottle of limoncello. At this point in time, I was still too young to drink so I was only offered a quick sip. It didn’t make a huge impression on me back then, but over the years I still hear people rave about this lemon infused drink.

Homemade Limoncello! Plus FREE labels to package these up for a sweet gift!

Instead of buying a bottle at the store, I thought it would be interesting to make a small batch at home. The recipe is rather simple, you just have to have patience. The lemon peels need to sit in the vodka for 10 days, but the wait is worth it in the end.

Homemade Limoncello! Plus FREE labels to package these up for a sweet gift!

Limoncello is both tart and sweet. No wonder this is a popular drink! It’s smooth enough to enjoy on its own, but would be delicious with a splash of club soda and lemon wedge.

If you want to package up a jar to give a friend, download these free Limoncello labels!

Limoncello

Ingredients:

  • 3 Meyer lemons
  • 200 ml vodka
  • 1 C. Sugar
  • 3/4 C. Water

Recipe:

  • Scrub the lemons clean and peel off the yellow skins from the white (bitter) pith
  • Sanitize a mason jar by placing it in boiling water for 10 minutes
  • Let the mason jar cool to room temperature
  • Fill the mason jar with the lemon peel and vodka
  • Seal and set in a cool place for 10 days, gently shaking each day
  • For the syrup, combine the sugar in water in a small saucepan and bring to a boil
  • Once the sugar has been dissolved take off the burner and let cool to room temperature
  • Strain out the lemon peel from the vodka and mix with the simple syrup
  • Seal in mason jars and store in the refrigerator
  • *This makes enough limoncello for two 8oz mason jars. Feel free to double the recipe to make a larger batch.

What beverages have you discovered while traveling? I would love to hear about them in the comments!