Tasting History: Baked Alaska Cupcakes (1860s)

Conflicting tales are a common theme in history. Without thorough documentation, bits and pieces of information are strung together to form a general idea of the past. In the case of the Baked Alaska, historical chatter center around its popularization versus its creation. Originally called an omelette surprise in Norway, a New York chef popularized the Baked Alaska in 1867 to celebrate the acquisition of Alaska.

It’s clear the concept of the Baked Alaska wasn’t groundbreaking since cookbooks, such as The Philadelphia Housewife, printed recipes for baked meringue ice cream desserts as early as 1855. However, it wasn’t until 1867 that homemakers began attempting this technically difficult dessert to delight dinner guests.

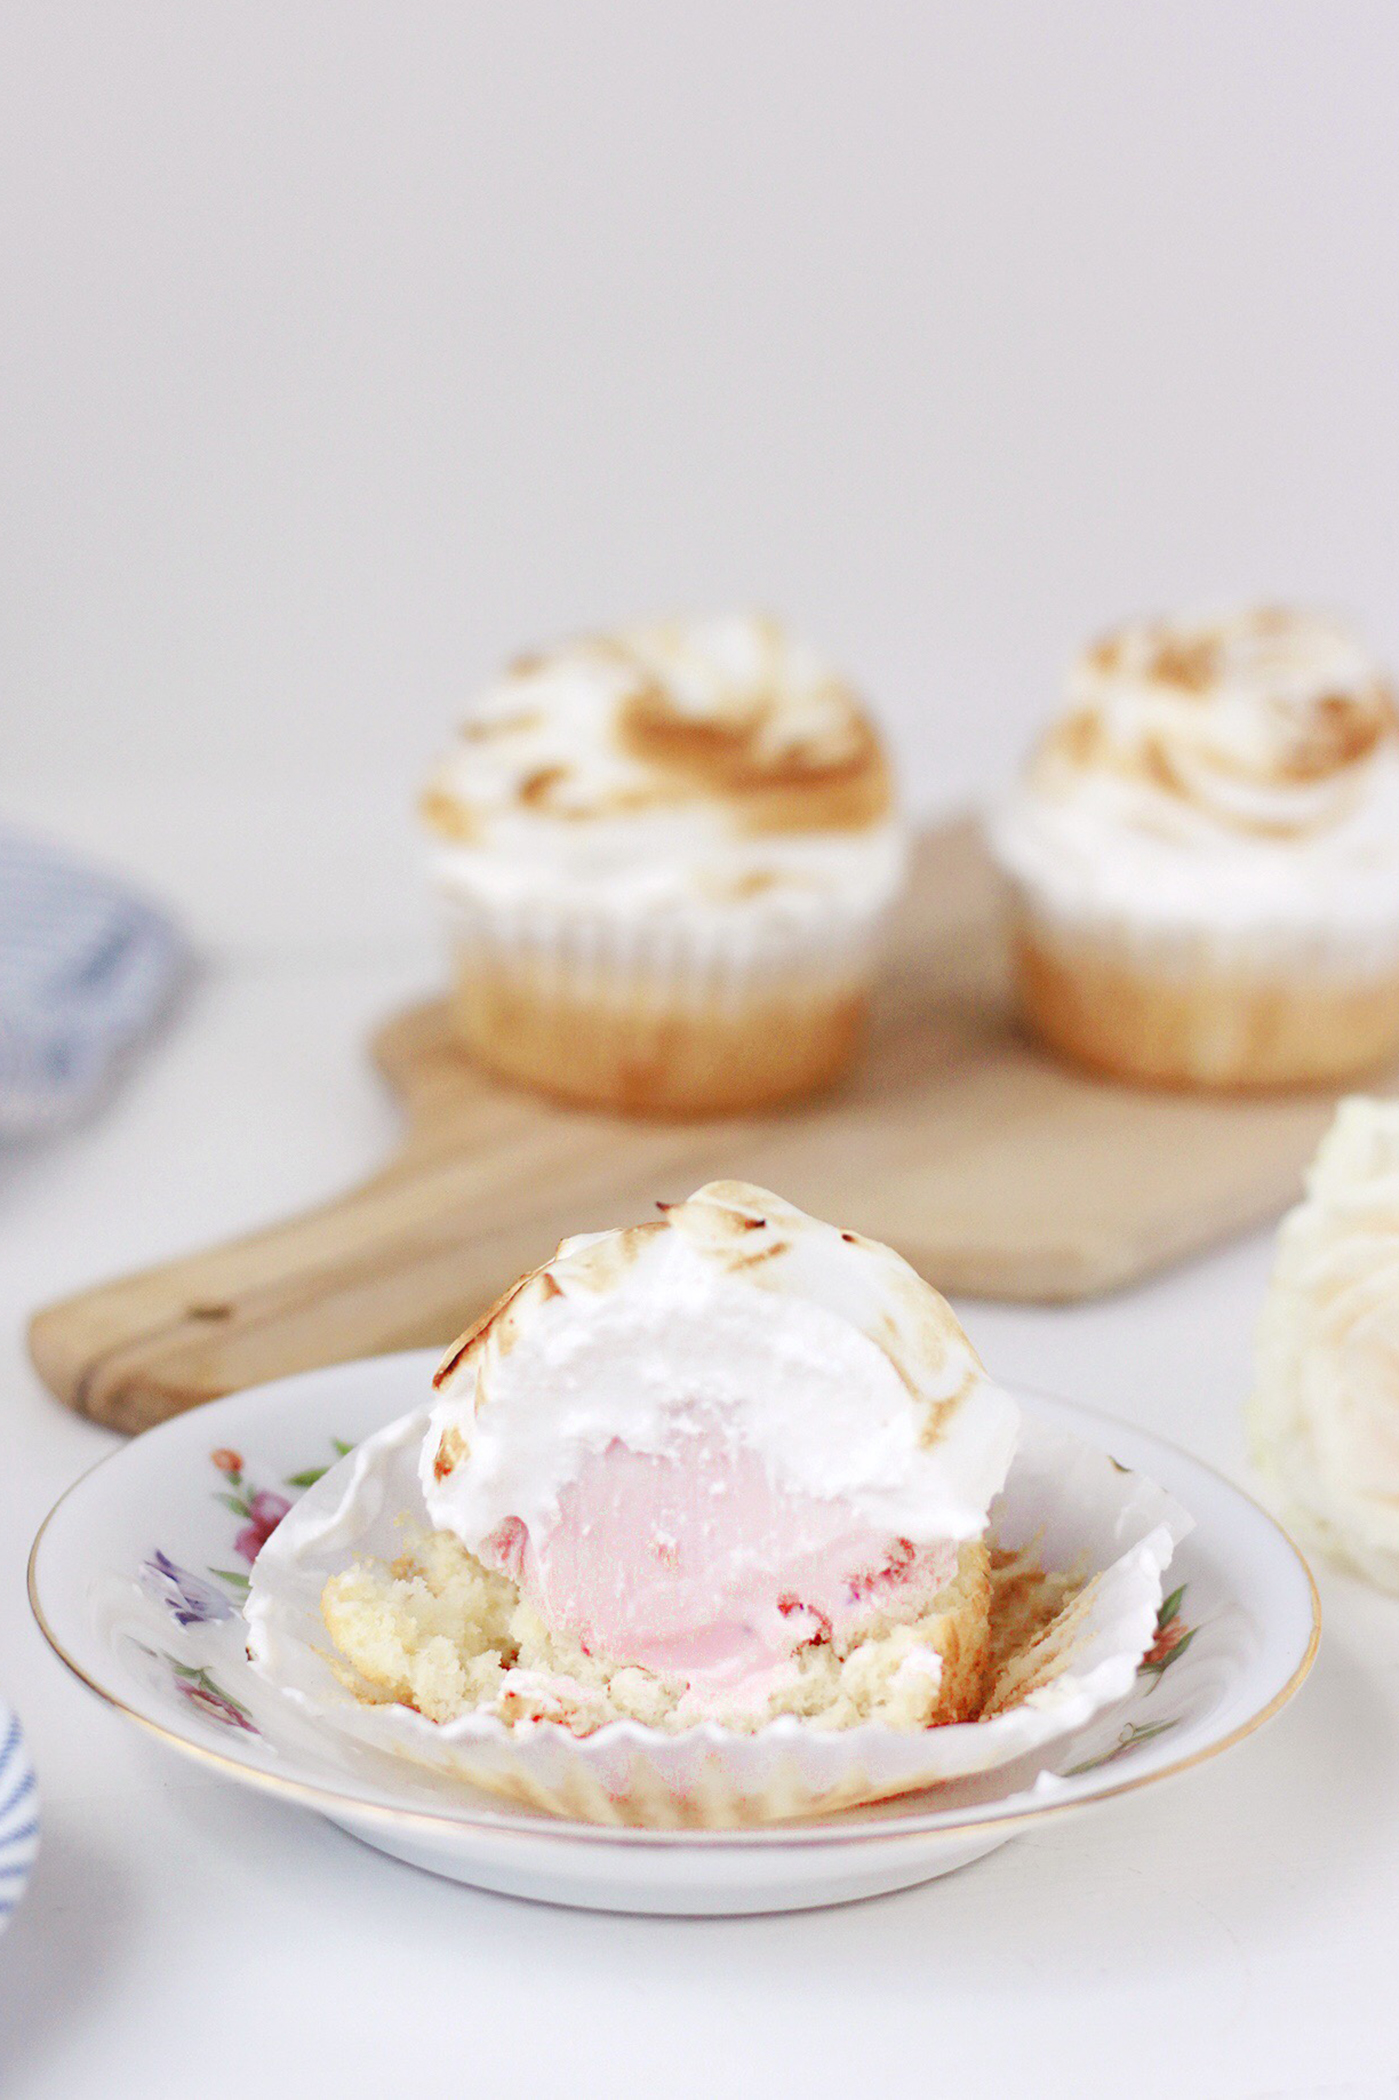
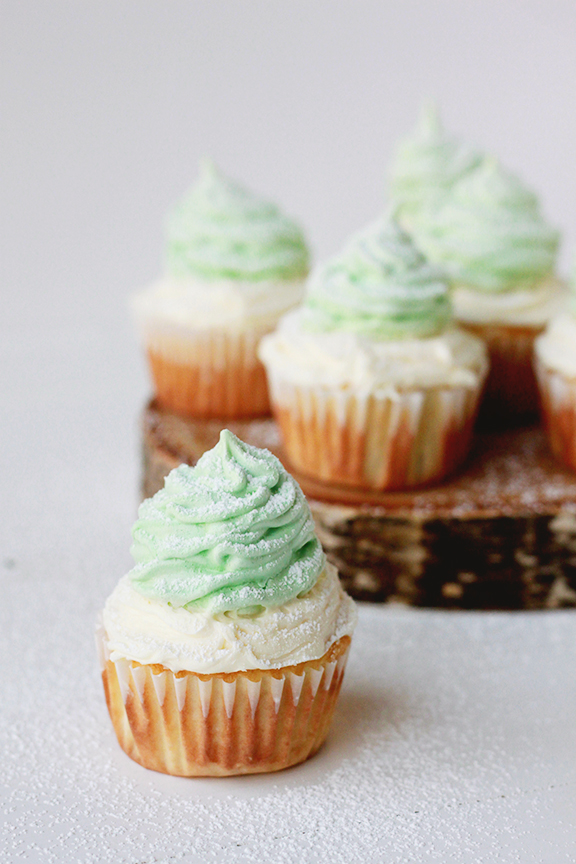
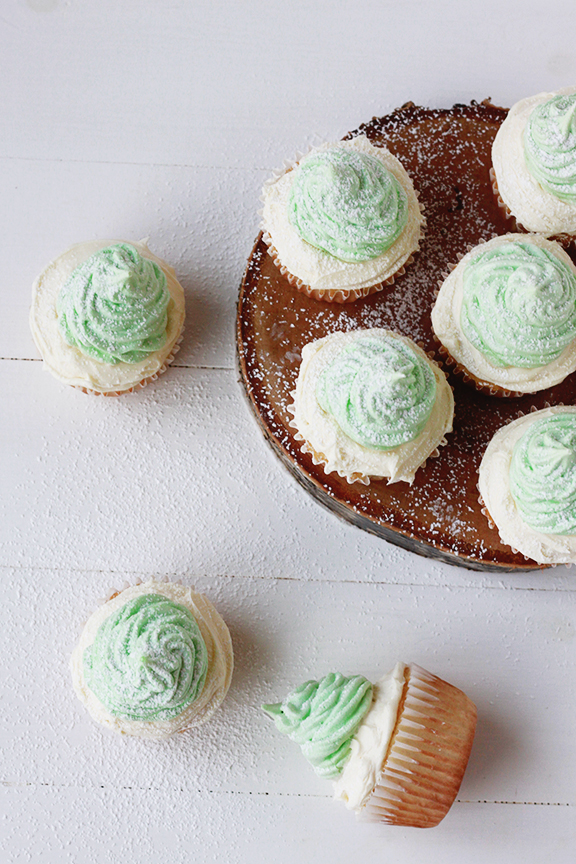
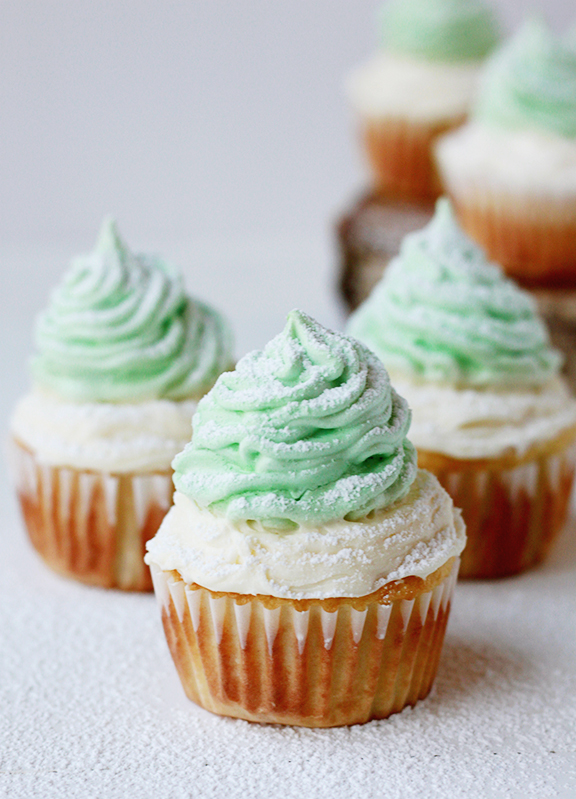
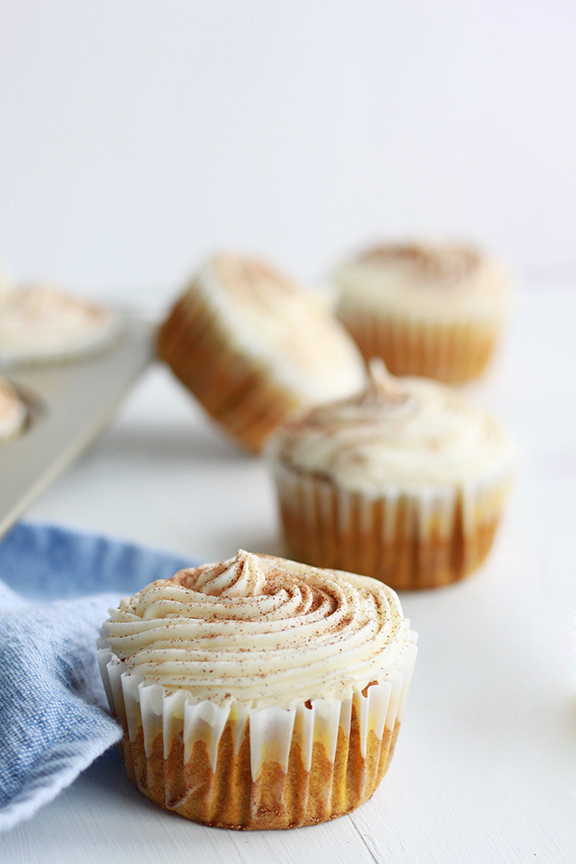
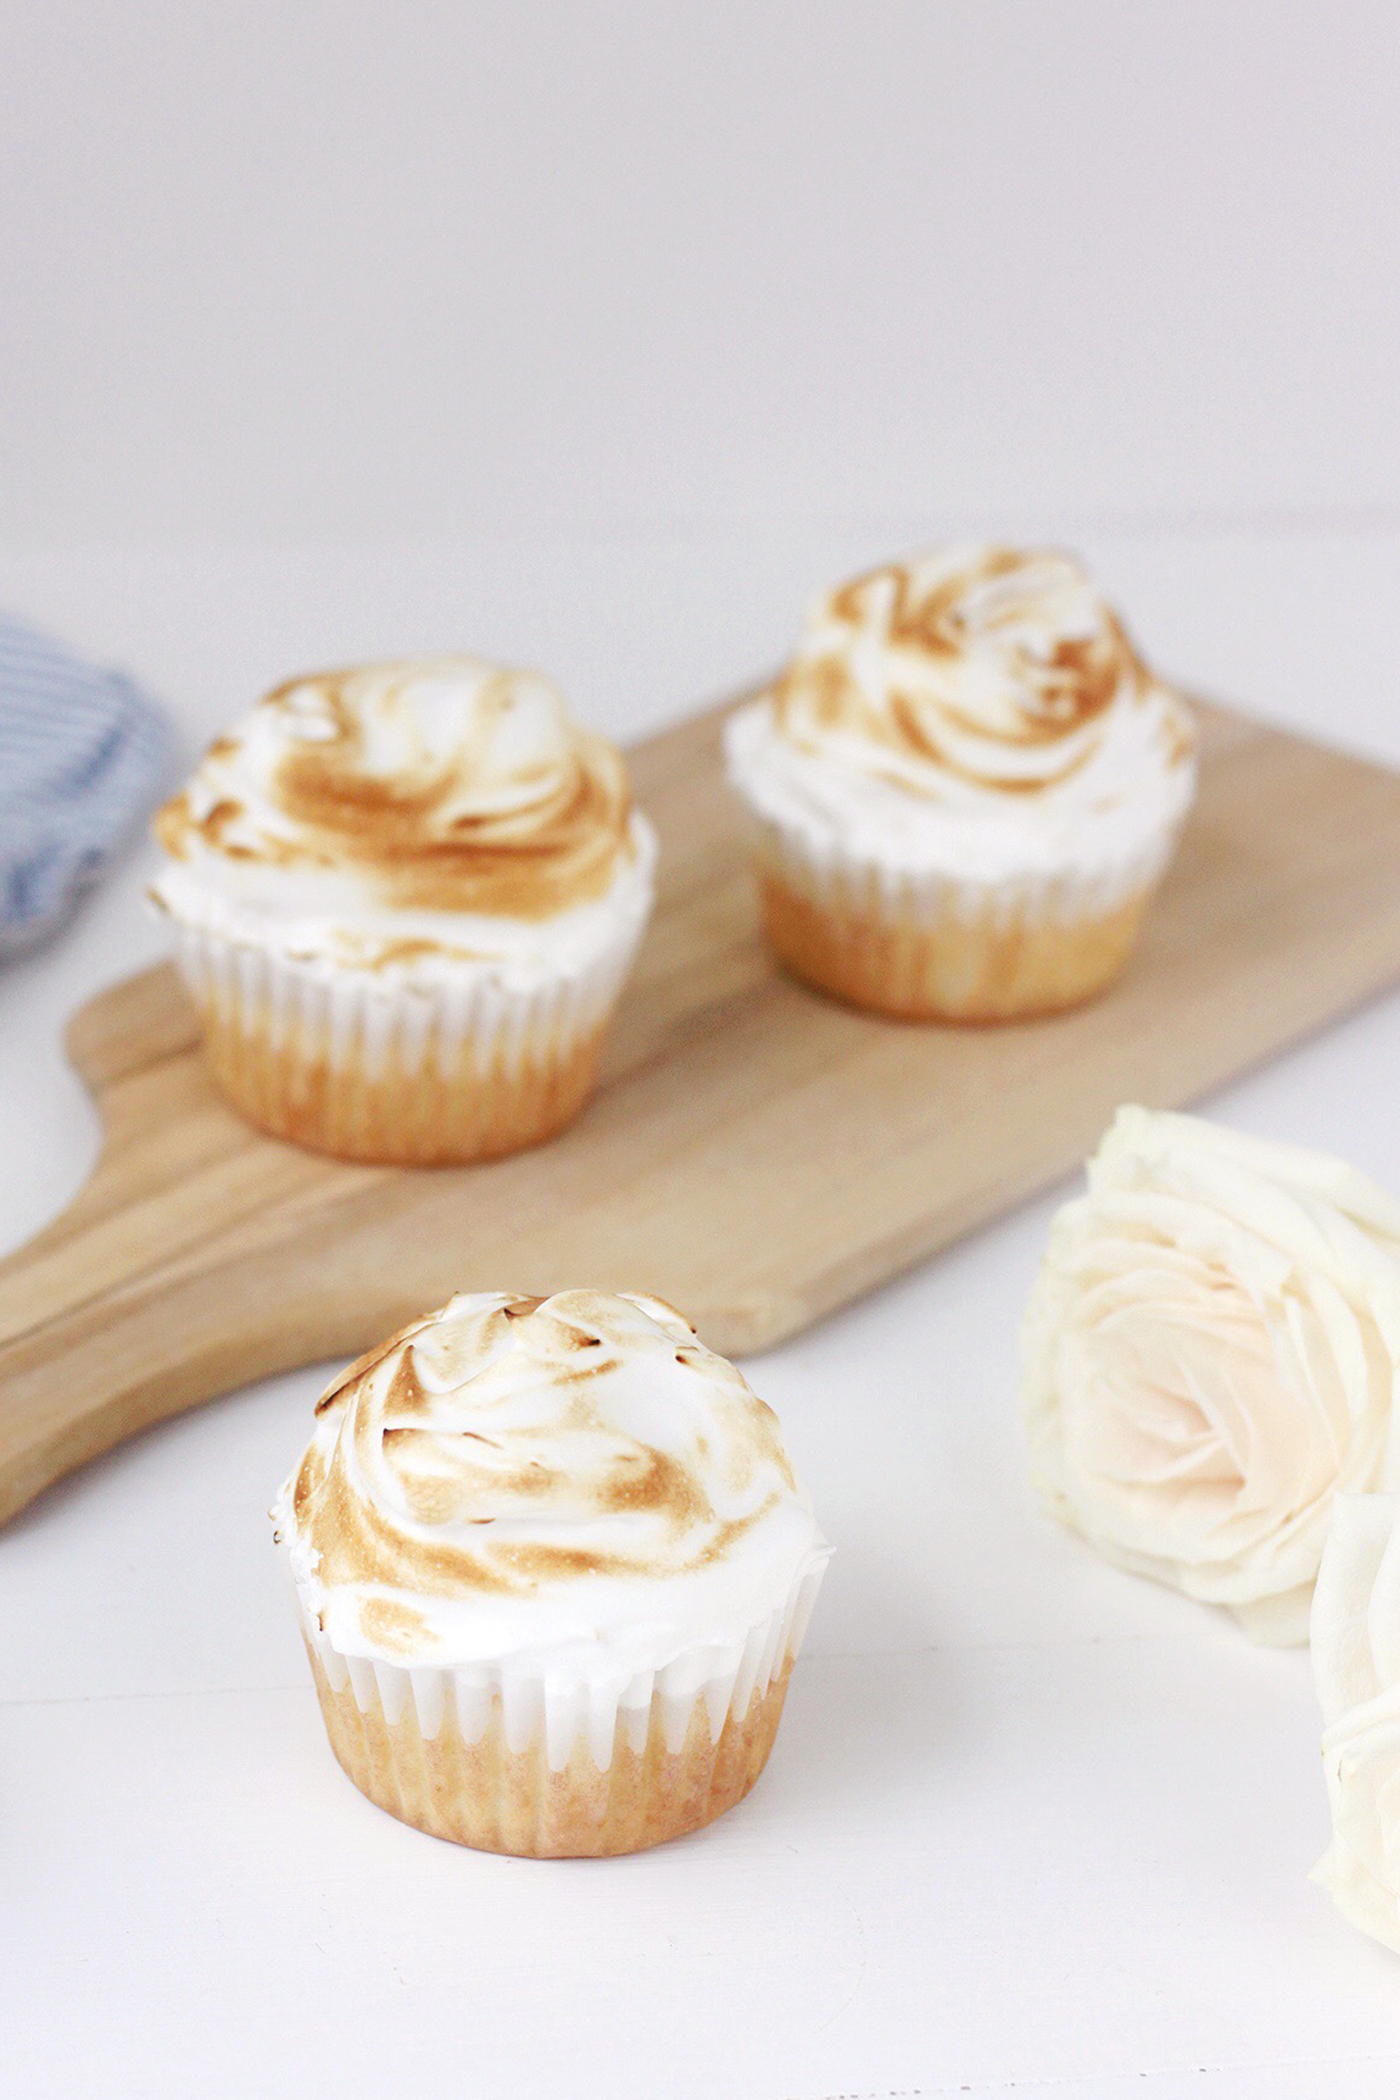
While a traditional Baked Alaska is prepared as a cake, I took a modern approach to this vintage recipe and made them into cupcakes. A key to success with this recipe is to keep the ice cream as cold as possible and serve them immediately after you caramelize the meringue. This is not a make-ahead dessert as it needs to be prepared and served quickly. Therefore, these cupcakes are better suited for an intimate dinner party rather than a large-scale gathering.

Baked Alaska Cupcakes

Ingredients:

  • White Cake Mix
  • Strawberry Ice Cream
  • 4 egg whites
  • 1/2 tsp cream of tartar
  • 1.5 tsp vanilla
  • 2/3 C. sugar

Directions:

  • Preheat over to 350˙
  • Prepare the white cake mix according to box instructions.
  • Line muffin tin with cupcake liners.
  • Fill each muffin tin 1/3 full.
  • Bake for 12-15 minutes.
  • Let cupcakes cool.
  • Scoop 2 heaping tablespoons of ice cream on top of the cupcakes.
  • Cover the cupcakes and place in the freezer for at least 2 hours.
  • Heat the oven to 450˙ and prepare the meringue by beating the egg whites, cream of tartar, and vanilla with an electric mixer until soft peaks form. Gradually add in the sugar until stiff peaks form.
  • Spoon the meringue mixture over the cupcakes and bake for 2-3 minutes or until the tops are lightly browned. Serve the cupcakes immediately.
Advertisement

Meringue Tree Cupcakes

Meringue Christmas Tree Cupcakes

And just like that, Christmas has come and gone! I’m always saddened when the Christmas lights come down and the remaining winter months are left to be survived rather than savored. This year, I’ve decided to carry on the wonder and joy of the holiday season throughout the winter months by continuing a few traditions – one of which is baking.

Meringue Christmas Tree Cupcakes

In an attempt to keep the holiday spirit alive after returning to work, I whipped up a batch of these Meringe Tree Cupcakes. Dusted with powdered sugar, they resemble a winter wonderland and will bring a smile to anyone who may be mourning the end of Christmas carols on the radio. While meringues may seem daunting, they are simple to make as long as you have a bit of patience. If you decided to make these on your own, please tag your photos with #beautyandblooms so I can see your creations!   

Meringue Christmas Tree Cupcakes

Meringue Tree Cupcakes

Ingredients:

  • Vanilla Boxed Cake Mix
  • Vanilla Frosting
  • 3 egg whites
  • 1/2 C. sugar
  • 1 tsp. Creme de Menthe
  • 1/2 tsp. distilled white vinegar
  • 1 drop green food coloring

Directions:

For the cupcakes:

  • Follow baking instructions for cupcakes. Once baked, set aside to cool before frosting.

For the meringues:

  • Heat oven to 200 degrees
  • Beat egg whites in a stand mixer until hard peaks form
  • Slowly add in the sugar, creme de menthe, and vinegar
  • Increase speed and mix until sugar is well incorporated and glossy peaks form
  • Transfer mixture into a pastry bag with a star tip and pipe out trees on a parchment lined baking sheet
  • Place in the oven for 90 minutes, then shut off oven and let the meringues sit for 30 minutes
  • Remove meringues from oven and place on top of frosted cupcakes
  • Store in the fridge until ready to eat

Pumpkin Spice Cupcakes

Pumpkin Spice Cupcakes

I have a love/hate relationship with fall. I love crunching through fallen leaves on the sidewalk, bundling up in cozy sweaters, and switching from iced lattes to warm cappuccinos. However, in the back of my head, I know the season will be over before I’m ready and winter will be upon us. Oh, how I hate the cold! So while I’m enjoying fall, I feel the impending weight of winter dragging me down.

Pumpkin Spice Cupcakes

To keep my spirits lifted I made a batch of pumpkin spice muffins. This may seem too simple an act to brighten one’s day, but it transforms your home into a cozy abode. The warmth of the oven and sweet scent of spiced pumpkin lingered in our apartment throughout the evening. As I savored one of these cupcakes I allowed myself to forget about winter and fully enjoy the beauty of this season. Follow the recipe below to make these cupcakes at your own home and celebrate fall to the fullest!

Pumpkin Spice Cupcakes

Pumpkin Spice Cupcakes

Ingredients:

  • 1 C flour
  • 1/2 tsp baking soda
  • 1 tsp baking powder
  • 1/2 tsp salt
  • 1/2 tsp pumpkin pie spice
  • 1 C pumpkin puree
  • 1/2 C maple syrup
  • 1/2 C coconut oil, melted
  • 2 eggs
  • Cream cheese frosting

Directions:

  • Preheat your oven to 350 degrees
  • Line a muffin tin with liners
  • Mix the flour, baking soda, baking powder, salt and pumpkin pie spice together in a large bowl
  • In a separate bowl, combine the pumpkin puree, maple syrup, coconut oil and eggs
  • Slowly add the wet ingredients to the dry until well combined
  • Divide the batter into the muffin tin
  • Bake for 15-20 minute
  • Let the cupcakes cool before frosting