Cinnamon Rolls

Cinnamon Rolls

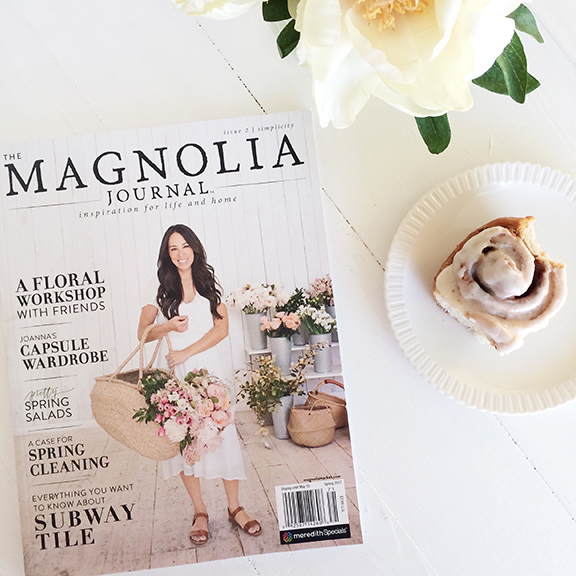
Is there any better way to wake up than to the smell of warm cinnamon rolls coming out of the oven?! These frosted delights were a special breakfast treat growing up, and the sweet smell of freshly baked dough and cinnamon bring back a flood of happy memories. During our marriage I have only attempted to make these once, so on a rainy Saturday morning I thought I would try and perfect my recipe.

Cinnamon Rolls

Being patient was my first lesson in making homemade cinnamon rolls. It’s easy to try and rush when you are thinking of the delicious end result, but taking your time with the dough makes all the difference. After three hours of kneading, rolling and baking your house will be filled with a sweet aroma that will entice any late sleepers to throw back the covers and come to the kitchen.

Cinnamon Rolls

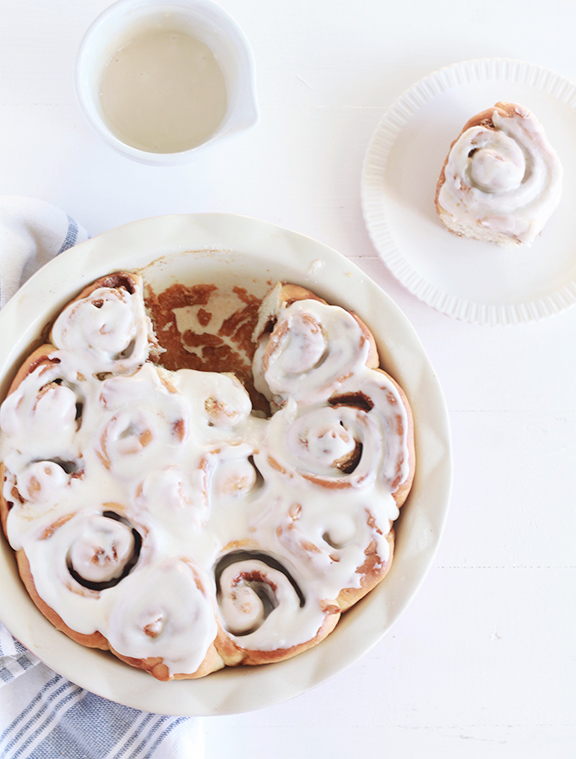
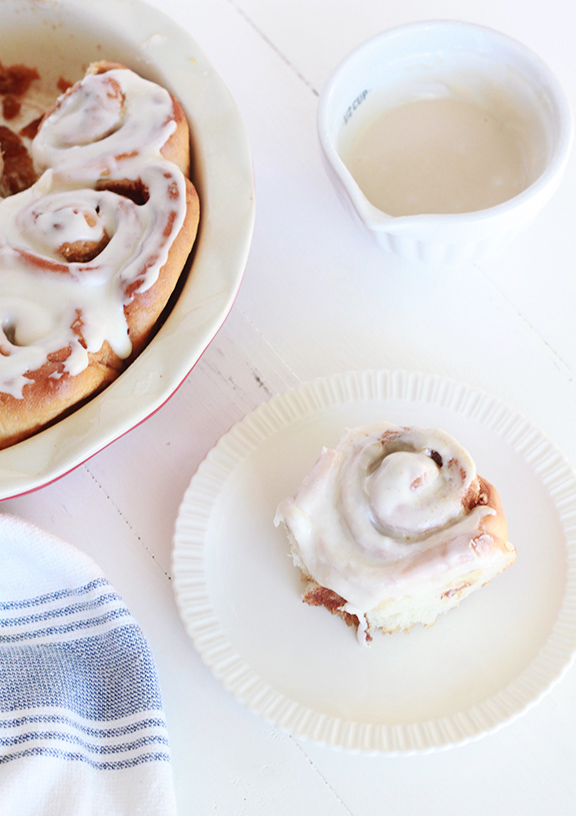
Once I pulled the cinnamon rolls out of the oven, I realized why I had waited so long to make them. We had 14 warm, gooey tempting us to devour all of them. Something our willpower couldn’t handle – so we packed up the leftovers and sent them off to be enjoyed by coworkers. Next time I pull out this recipe I will have to plan ahead and invite friends over for brunch!

Cinnamon Rolls

Ingredients:

Rolls:

  • 4 tsp. yeast
  • 2 tsp. sugar
  • 1/4 warm water
  • 3 1/2 C. flour
  • 1/8 C. sugar
  • 1 tsp. salt
  • 3/4 C. warm water
  • 1/8 C. oil

Filling:

  • 4 Tbs. butter, room temperature
  • 1/2 C. sugar
  • 1/2 C. brown sugar
  • 4 Tbs. cinnamon

Icing:

  • 2 C. powdered sugar
  • 2 Tbs. water
  • 1/2 tsp. vanilla extract

Directions:

  • Mix the first three ingredients together and set aside for 15 minutes to double in size
  • Add the rest of the roll ingredients together in a large bowl and stir with a wooden spoon until well combined. Cover with a cloth and set aside in a warm area to rise for 30 minutes.
  • Knead the dough for 5 minutes, them cover and set aside for 1-2 hours until the dough doubles in size.
  • Knead again and preheat your oven to 375˙F and grease a round baking pan
  • Use a rolling pin to shape the dough into a long rectangle
  • Evenly cover the top of the dough with butter and sprinkle with cinnamon and sugar
  • Tightly roll the dough lengthwise and cut 14 1-inch pieces
  • Lay the rolls into the baking pan and place in the oven for 20-35 minutes
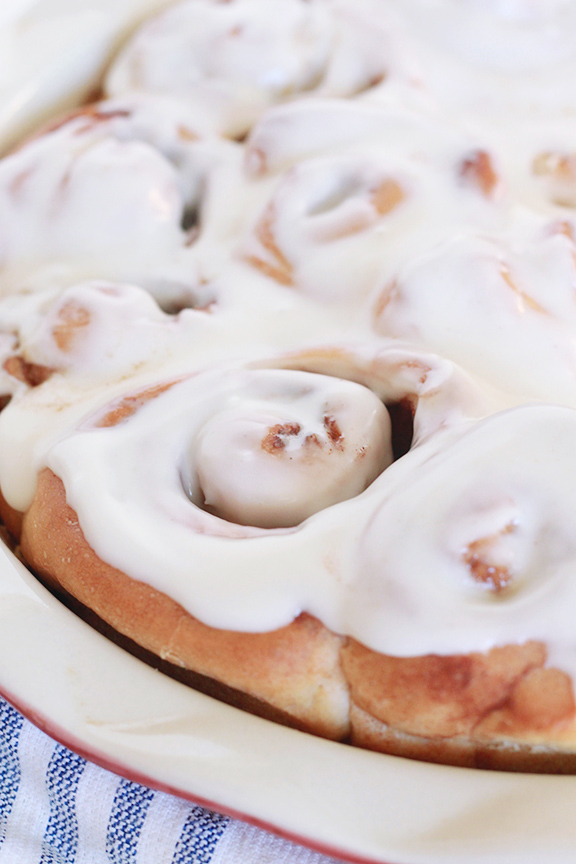
  • Once the cinnamon rolls have cooled, mix together the icing ingredients and drizzle the icing over the rolls


Chocolate Filled Easter Eggs

Chocolate Filled Easter Eggs

Ian’s Professional Engineering exam is right around the corner. In order to sneak in more study time, we decided to forgo driving back to Madison for Easter and opted to celebrate at home. Since it will just be the two of us, I wanted to make the day feel special by adding a few festive elements – one of which are these delicate chocolate-filled eggs!

Chocolate Filled Easter Eggs

My naturally dyed Easter eggs where a fail last year, so I really wanted to redeem myself! After the hollowed eggs were sanitized I filled them with tempered chocolate and let them set. I was nervous this would turn out to be another Easter DIY disaster, but much to my surprise they worked!

Chocolate Filled Easter Eggs

If you’re hosting Easter dinner, you could write each guests name on an egg and use them as table settings! Or simply hide them around the yard for a fun Easter egg hunt!

Chocolate Filled Easter Eggs

Supplies:

  • 6 Eggs
  • Pin
  • 1 Kabob stick
  • 1 Tbs. vinegar
  • Egg carton
  • 6 chocolate candy bars
  • Masking Tape
  • Paint
  • Paint brush

How to:

  • Wash the eggs gently with soap and water and pat dry
  • Using a pin, carefully tap a small hole in the top and bottom of the egg.
  • Insert a kabob stick into the egg to break up the yoke the blow through one of the holes to release the egg
  • Place the hollowed eggs in a pot of water and 1 Tbs. vinegar. Bring to a boil, then reduce heat to a simmer for 10 minutes.
  • Once the eggs are dry, place masking tape over the bottom hole and place them in an egg carton
  • Temper the chocolate and pour into each egg until full
  • Set aside to set, then gently peel off the masking tape
  • Decorate with paint and enjoy!


Month in Review: March, 2017

Month in Review: March 2017

March, what a dreary month! Each day I would wake up hungry to see the sun shinning down, but gray skies dominated the weather forecast.  It’s crazy how a series of gloomy days can take a toll on you mentally. Luckily, Ian and I had a few fun days penciled in on the calendar to keep our spirits up!

Month in Review: March 2017

Month in Review: March 2017

First on our list was to attend the Showcase of Homes! We drove around town touring new builds and fell in love with bits and pieces of each house. Sadly, I discovered I have expensive taste and was drawn to quartz countertops and hardwood floors. I guess a girl can dream, right?!

Month in Review: March 2017

Next up on our calendar was the Gaelic Storm concert! There’s nothing like dancing to bagpipes to get you in the holiday spirit! This was our third time seeing them perform, so I think it is safe to say this has become one of our favorite St. Patrick’s day traditions.

Month in Review: March 2017

As the month came to a close we had a few quiet days at home. I took advantage of this time to deep clean the apartment, clear out my closet, and enjoy one of my favorite pastimes – baking. As the rain pitter pattered on the roof, I preheated the oven and kneaded dough for a batch of cinnamon rolls! I think I finally perfected my recipe, so keep your eyes peeled for the post later this month!